Firebase push notification
firebase fcm push kotlin android tutorial Estimated reading time: 10 minutesInforming users about some events it’s an almost essential part of any modern mobile app. On both most popular platforms (iOS, and Android) we can integrate push notifications - something small and intuitive for users, something that can bring a part of the u’r app closer and faster to the user.
Integration of this functionality can be a bit tricky, especially if u do this for the first time.
With iOS I have a rich experience of how to do that, but on Android, there are a few additional moments that need to know before we can make it live for all cases.
use-cases
Before actual implementation, we should understand all possible use cases for push notifications. This will make the app very responsive and provide the best UX for the user.
Under use cases, I mean something from a tech aspect - a moment from which the user can receive the notification.
Here are a list of moments that u definetly needs to handle when u deal with push notifications:
- app is not running
- app is running
- app is foreground active
- on destination screen
- not on destination screen
- app is foreground inactive (backround)
- on destination screen
- not on destination screen
- app is foreground active
Whoo - all started from a simple push idea. Of cause - if push informative - all is much easier, but if it requires some action or contains a deep link - than, that’s the true story.
there are a few more use-cases, and also some of them can be added due to u’r logic in the app, but, in general, this is the basic list of what u need to handle at a minimal level when u work with push
integration
Integration should be started from official documentation where u can find all the steps needed for integration fcm-push. This is a good moment, the bad one - not all aspects are covered. Due to this, I will put here step-by-step instructions.
firebase console
The very first step would be registration on firebase console.
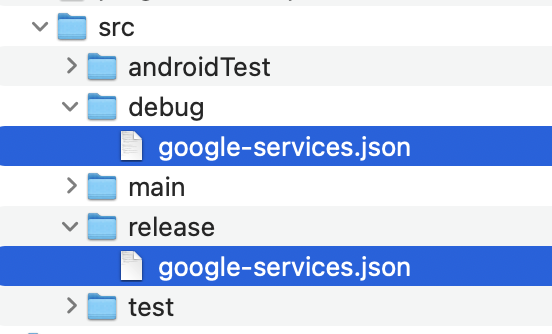
Create a new project and add a new app to it. Just follow the next-next flow. The important point here - is to use u’r real package name as u specified in the project. On one of the steps, google-services.json will be generated - u need to include this file into the u’r project src directory - this file will be used by firebase services.
A good moment here - if u want to have different channels for debug/release build - just create a same-name folder in the
srcdirectory and place 2 differentgoogle-services.json- one for a separate app: debug and release:
SDK
Now, needs to add SDK to the project.
Open build.gradle for project lvl and add classpath:
buildscript {
    dependencies {
        classpath 'com.google.firebase:firebase-crashlytics-gradle:<version>'
    }
}
In module build.gradle add dependencies:
plugins {
    id 'com.google.firebase.crashlytics'
}

dependencies {
    def firebase_msg_version = "<version>"
    implementation "com.google.firebase:firebase-messaging-ktx:$firebase_msg_version"
    implementation "com.google.firebase:firebase-messaging-directboot:$firebase_msg_version"
}
Press sync now.
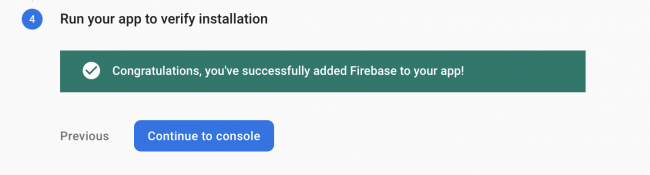
Run the project, on console u will see success message:
FirebaseMessagingService
Now, it’s time to configure FirebaseMessagingService - a service for handling the received notifications. Open AndroidManifest.xml in app/manifests and add this config:
<service
    android:name=".components.firebaseServices.AuthFirebaseMessagingService"
    android:directBootAware="true"
    android:exported="false">
    <intent-filter>
        <action android:name="com.google.firebase.MESSAGING_EVENT" />
    </intent-filter>
</service>
where AuthFirebaseMessagingService is a subclass of the FirebaseMessagingService.
we also can add a custom icon/color for notification - for that, add config in the same file under service registration:
<meta-data
    android:name="com.google.firebase.messaging.default_notification_icon"
    android:resource="@drawable/ic_notification_icon" />
<meta-data
    android:name="com.google.firebase.messaging.default_notification_color"
    android:resource="@color/ic_notification_color" />
more info u can find here
AuthFirebaseMessagingService - for now, just create a class with no implementation:
class AuthFirebaseMessagingService : FirebaseMessagingService() { }Before we go to the actual implementation - it’s good to understand what we want to achieve. By default, push notifications will be shown with a default icon and minimal behavior. But often, we need to save fcm-token (for example to send on the server, for scheduling push and associating it with concrete user). Also, if we want to handle interaction on push (like a deep link) we must parse the payload and process it. All these moments will dictate the logic we need.
Inside AuthFirebaseMessagingService let’s create s function for retriving fcm-token:
fun fetchUserToken(callback: ((String?, Exception?) -> Unit)? = null) {
    FirebaseMessaging.getInstance().token.addOnCompleteListener { task ->
        if (task.isSuccessful) {
            callback?.invoke(task.result.toString(), null)
        } else {
            callback?.invoke(null, task.exception)
        }
    }
}
Sometimes fcm-token can be updated (depends on the firebase lifecycle), so to always get an actual version of this token we must override the function in FirebaseMessagingService:
override fun onNewToken(token: String) {
    super.onNewToken(token)
	 // handle update - depends on u'r logic
    Log.d(TAG, "New FCM token $token")
}
And of cause, one more important callback to override - it’s on onMessageReceived(remoteMessage:) - place where we got raw payload:
override fun onMessageReceived(message: RemoteMessage) {
    super.onMessageReceived(message)

    message.data.let {
        Log.d(TAG, "Message data payload: " + message.data)
        Log.d(TAG, "Message notification in payload: " + message.notification?.body as String)

        // todo
        }
    }
}
u may also want to check the possibility for android devices to receive push notifications. For that, u can use the next function
GoogleApiAvailability.getInstance().isGooglePlayServicesAvailable(this)test notification
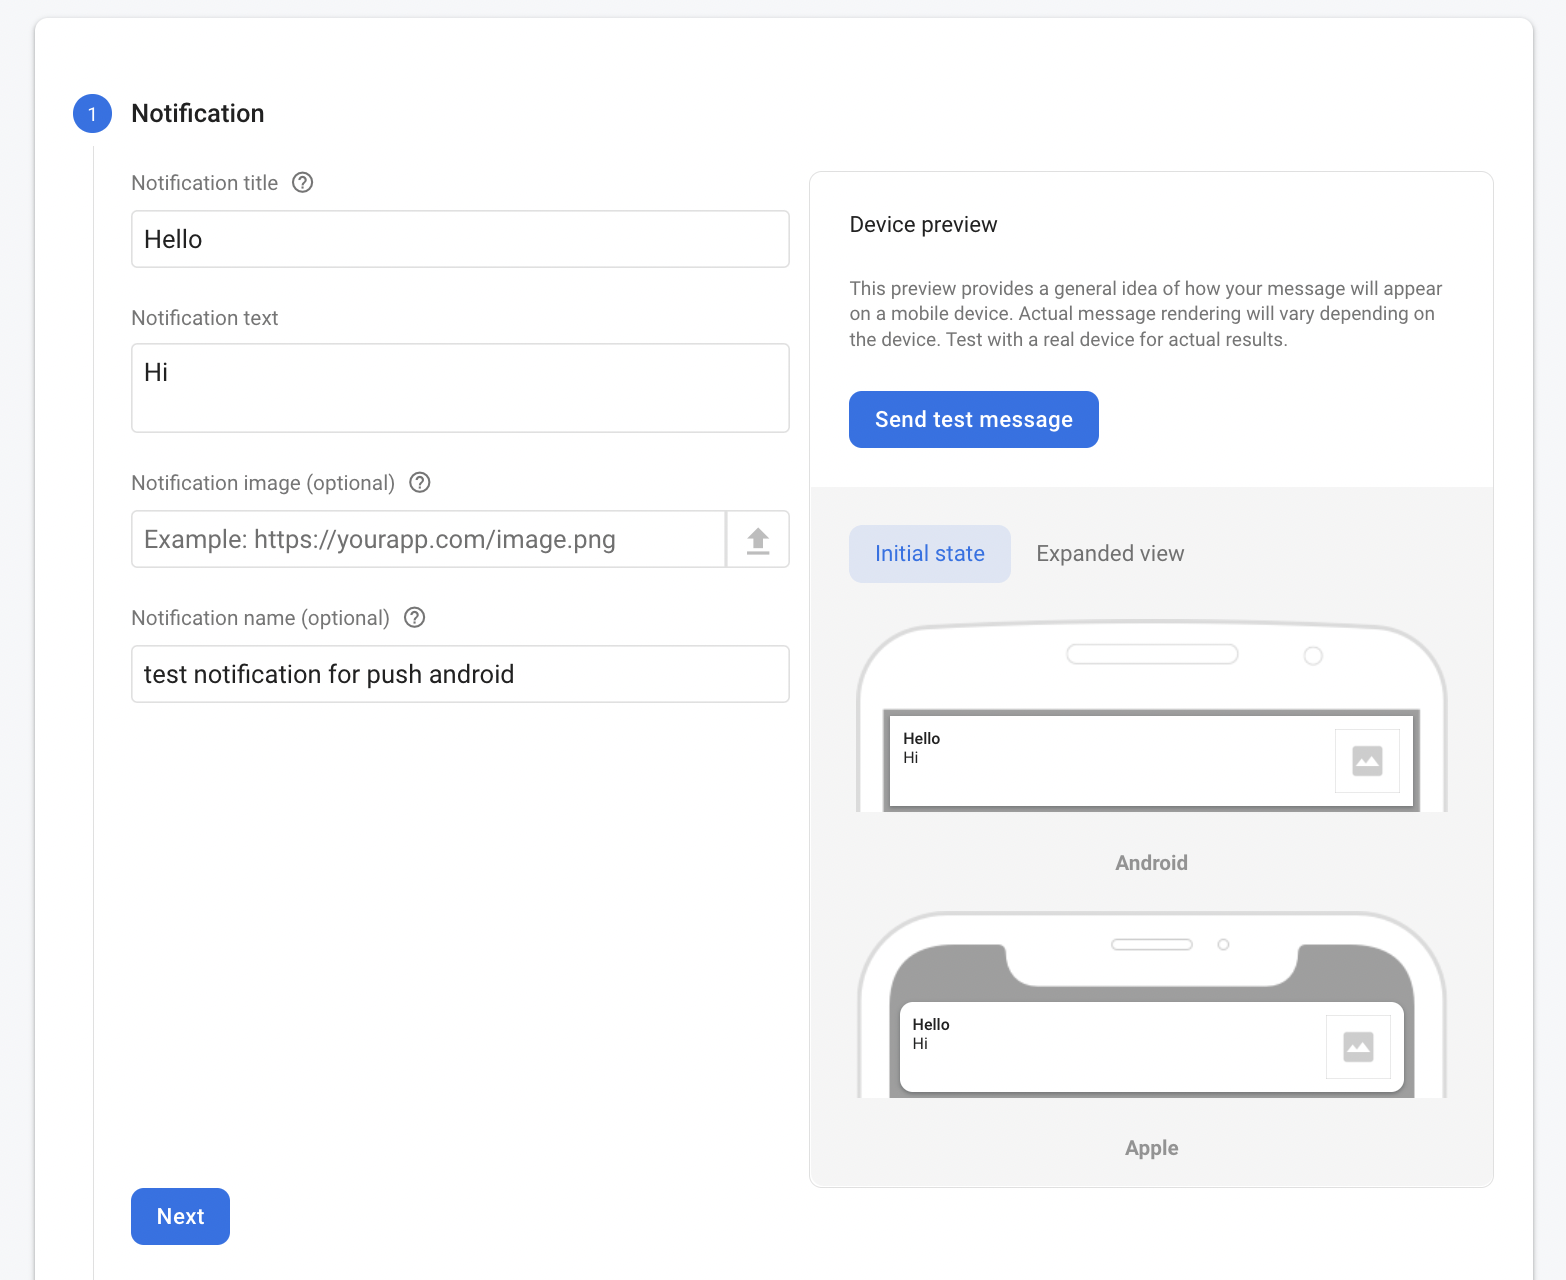
To send notifications we can use the Firebase console - step-by-step instructions will tell u how to configure push content.
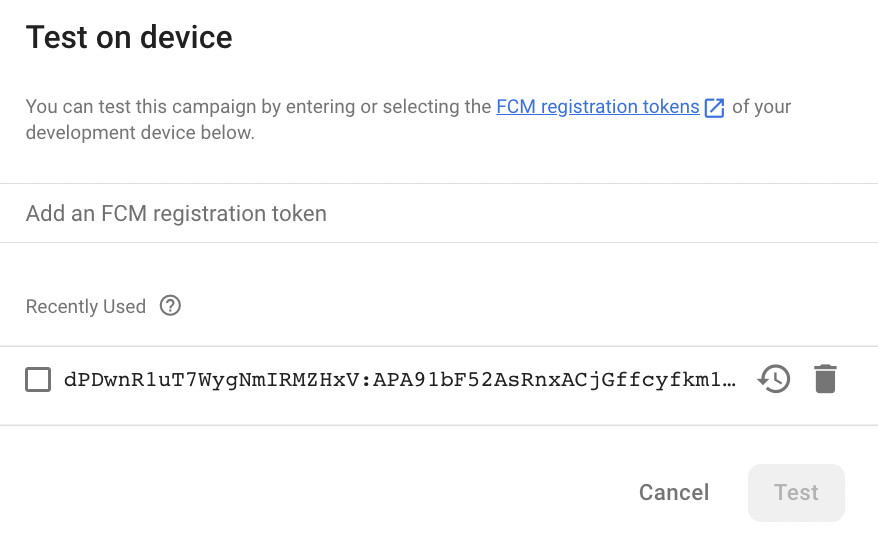
To send on u’r device - use obtained token in same menu:
handling payload
Now, the most interesting part - handling the payload. As I mention at the beginning of the article - there are a lot of cases to work with.
The good moment - is that part of the logic will be shared in between the cases.
Let’s review the most complex example - the user clicks on the notification, and if the payload contains some data, an appropriate deep link is triggered with the received payload as an input parameter.
To simplify this, we can divide the process into separate steps:
- receive a token (done)
- configure received push and parsing payload
- parse payload
- receive model as param
- deep link (with a model as param)
- show screen
As I mention in the list, the first step we already did. Now we should parse the payload.
When I receive push, the complete payload looks like this:
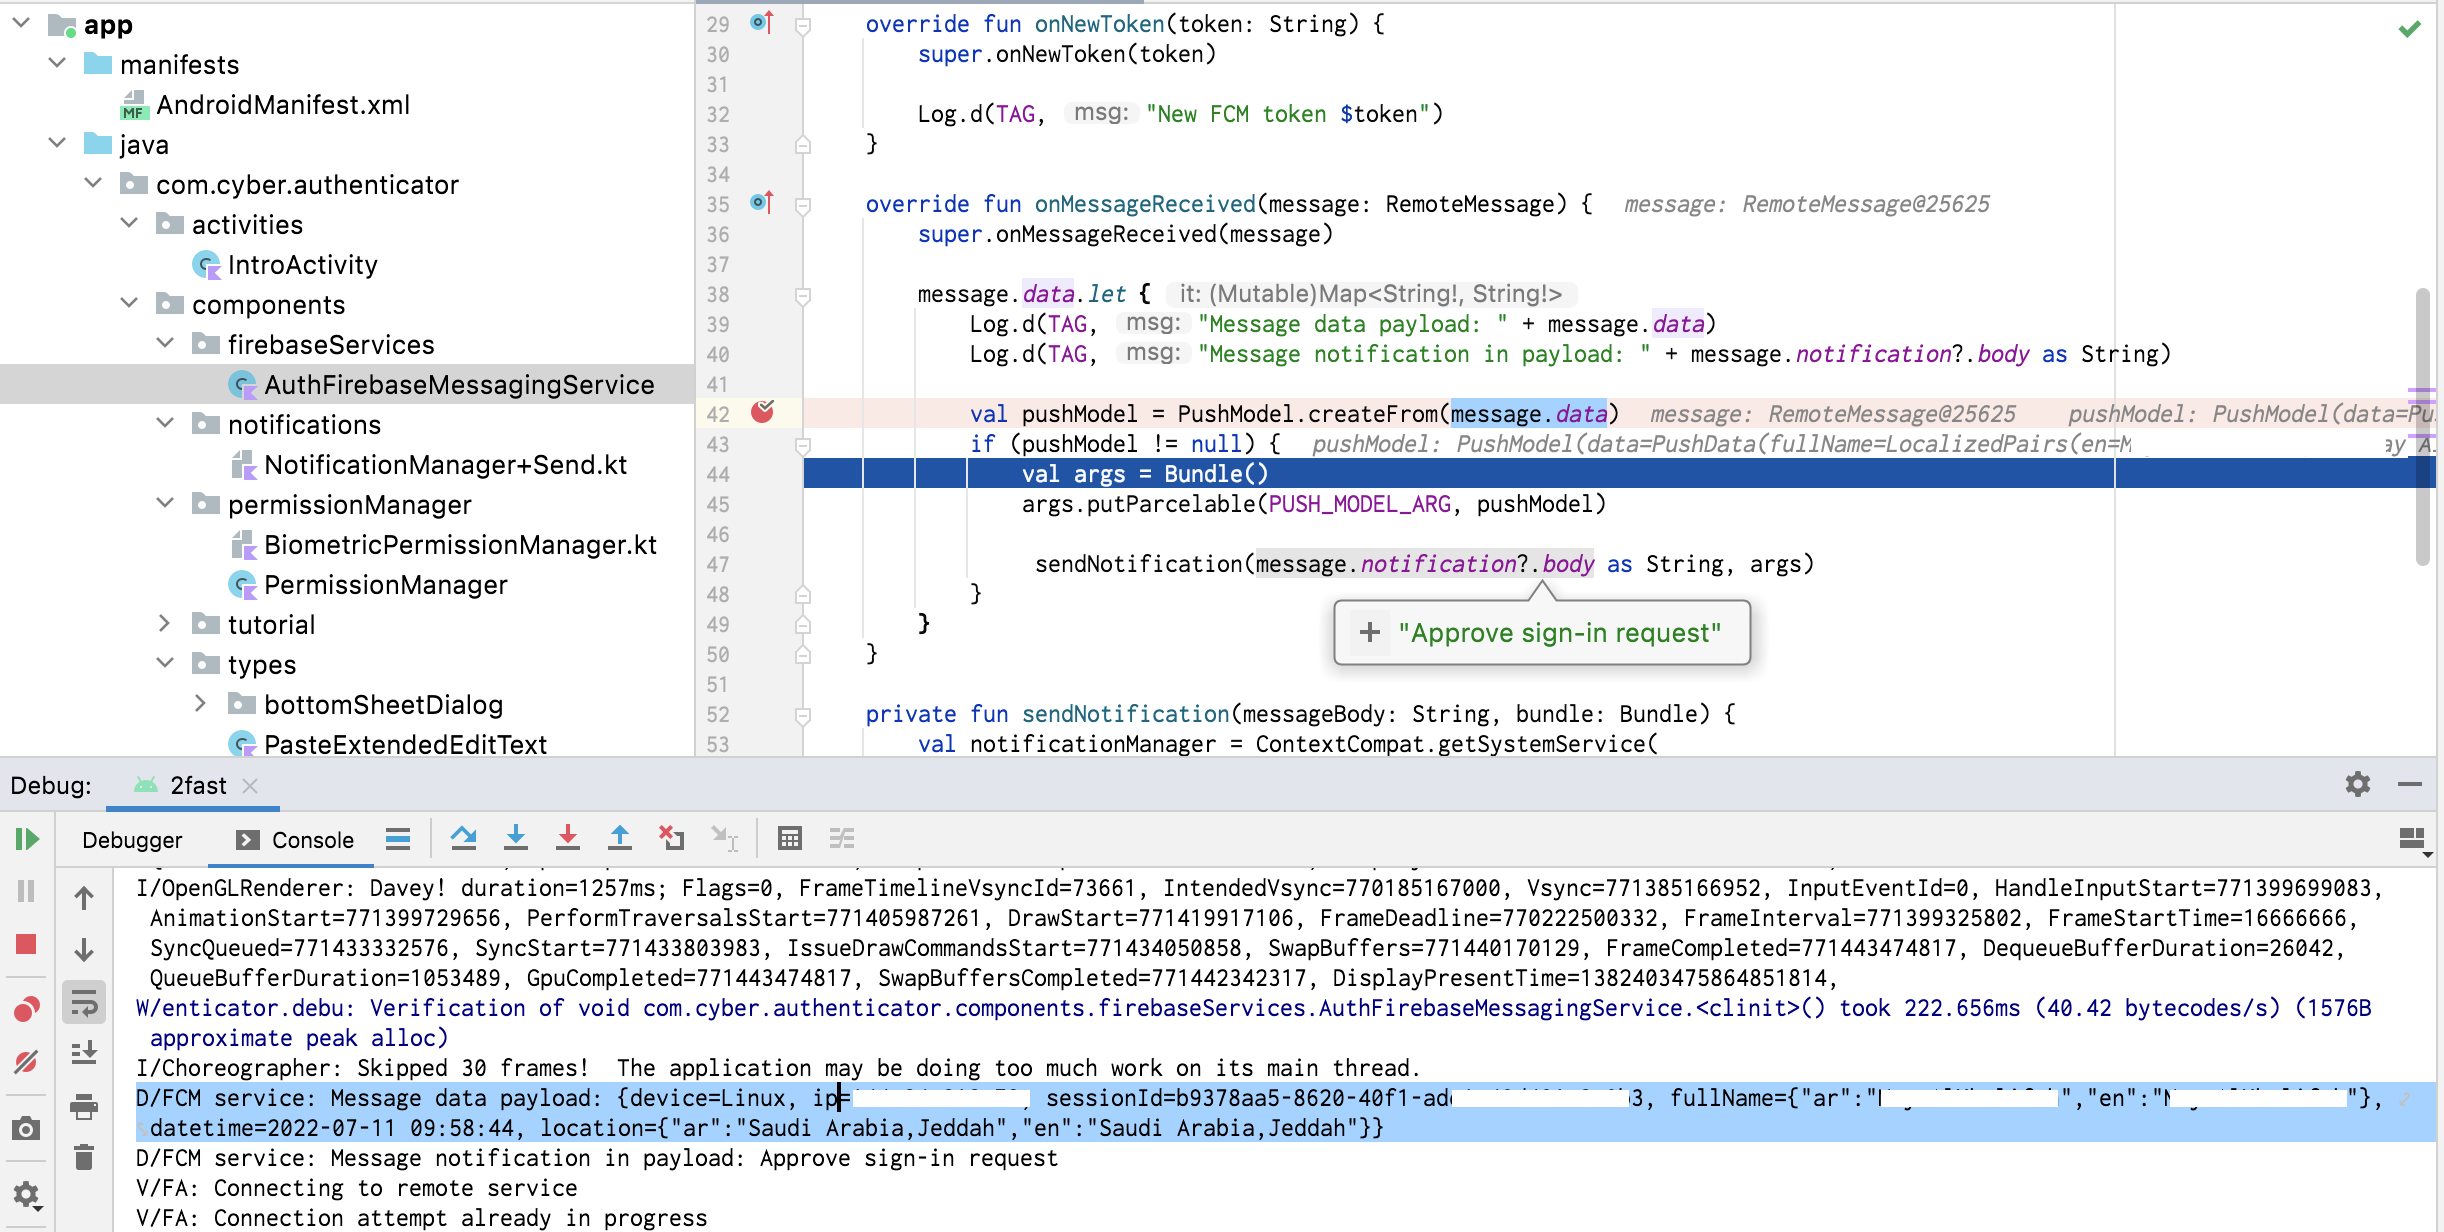
{
	device=Linux, ip=111.111.111.111,
	sessionId=b9378aa5-8620-40f1-ade1-2312312312d,
	fullName={"ar":"Name","en":"Name"},
	datetime=2022-07-11 09:58:44,
	location={"ar":"Saudi Arabia","en":"Saudi Arabia"}
}
The tricky moment here - is that if we parse the push payload, we are responsible for displaying this push. To do so, we can create a separate function for that:
private fun sendNotification(messageBody: String, bundle: Bundle) {
    val notificationManager = ContextCompat.getSystemService(
        applicationContext,
        NotificationManager::class.java
    ) as NotificationManager

    notificationManager.sendAuthNotification(
        messageBody,
        bundle,
        applicationContext
    )
}
sendNotification(messageBody:,bundle:)called from theonMessageReceived(remoteMessage:)
Here I used an extension for NotificationManager - the heart of our push-displaying logic. Indeed this function configures deep links, notification channels, images, color (and other appearance stuff).
full code of service and extention
class AuthFirebaseMessagingService : FirebaseMessagingService() {
    companion object {
        private const val TAG = "FCM service"
        const val PUSH_MODEL_ARG = "pushModel"

        fun fetchUserToken(callback: ((String?, Exception?) -> Unit)? = null) {
            FirebaseMessaging.getInstance().token.addOnCompleteListener { task ->
                if (task.isSuccessful) {
                    callback?.invoke(task.result.toString(), null)
                } else {
                    callback?.invoke(null, task.exception)
                }
            }
        }
    }

    override fun onNewToken(token: String) {
        super.onNewToken(token)

        Log.d(TAG, "New FCM token $token")
    }

    override fun onMessageReceived(message: RemoteMessage) {
        super.onMessageReceived(message)

        message.data.let {
            Log.d(TAG, "Message data payload: " + message.data)
            Log.d(TAG, "Message notification in payload: " + message.notification?.body as String)

            val pushModel = PushModel.createFrom(message.data)
            if (pushModel != null) {
                val args = Bundle()
                args.putParcelable(PUSH_MODEL_ARG, pushModel)

                 sendNotification(message.notification?.body as String, args)
            }
        }
    }

    private fun sendNotification(messageBody: String, bundle: Bundle) {
        val notificationManager = ContextCompat.getSystemService(
            applicationContext,
            NotificationManager::class.java
        ) as NotificationManager

        notificationManager.sendAuthNotification(
            messageBody,
            bundle,
            applicationContext
        )
    }
}
private const val NOTIFICATION_ID_PUSH_AUTH = 0
fun NotificationManager.sendAuthNotification(
messageBody: String,
bundle: Bundle,
applicationContext: Context
) {
val deeplinkPendingIntent = NavDeepLinkBuilder(applicationContext)
.setComponentName(IntroActivity::class.java)
.setGraph(R.navigation.nav_graph)
.setDestination(R.id.pushAuthFragment)
.setArguments(bundle)
.createPendingIntent()
val mainImage = BitmapFactory.decodeResource(
applicationContext.resources,
R.drawable.ic_notification_icon
)
val bigPicStyle = NotificationCompat.BigPictureStyle()
.bigPicture(mainImage)
.bigLargeIcon(null)
val defaultSoundUri: Uri = RingtoneManager
.getDefaultUri(RingtoneManager.TYPE_NOTIFICATION)
val builder = NotificationCompat.Builder(
applicationContext,
applicationContext.getString(R.string.push_auth_channel_id)
)
.setSmallIcon(R.drawable.ic_notification_icon)
.setContentTitle(applicationContext.getString(R.string.push_auth_title))
.setContentText(messageBody)
.setContentIntent(deeplinkPendingIntent)
.setStyle(bigPicStyle)
.setSound(defaultSoundUri)
.setPriority(NotificationCompat.PRIORITY_HIGH)
.setAutoCancel(true)
notify(NOTIFICATION_ID_PUSH_AUTH, builder.build())
}
fun NotificationManager.createPushAuthNotificationChannel(
context: Context
) {
val notificationChannel = NotificationChannel(
context.getString(R.string.push_auth_channel_id),
context.getString(R.string.push_auth_channel_name),
NotificationManager.IMPORTANCE_HIGH
)
.apply {
setShowBadge(false)
}
notificationChannel.enableLights(true)
notificationChannel.lightColor = R.color.green_500
notificationChannel.enableVibration(true)
notificationChannel.description = context.getString(R.string.push_auth_channel_description)
this.createNotificationChannel(notificationChannel)
}
The last moment we need to do - is to show the screen when the user presses the push that contains a deep link.
Here is a tricky moment - u need to handle 2 cases for the same situation - when the app is launched and when not. Depending on this u either inject data intro flow or either system will provide this data via extras from firebase service (the one that we created).
Notice from the code that we re-schedule notification with additional params:
val args = Bundle()
args.putParcelable(PUSH_MODEL_ARG, pushModel)
This Bundle will be parsed as soon as we perform navigation.
So let’s review these 2 cases in detail:
running app
If u run the app, then we just perform navigation to the selected screen:
val deeplinkPendingIntent = NavDeepLinkBuilder(applicationContext)
    .setComponentName(IntroActivity::class.java)
    .setGraph(R.navigation.nav_graph)
    .setDestination(R.id.pushAuthFragment)
    .setArguments(bundle)
    .createPendingIntent()
The important moment here is that our navigation graph contains fragments with input params:
<fragment
    android:id="@+id/pushAuthFragment"
    android:name="com.cyber.authenticator.fragments.push.auth.PushAuthFragment"
    android:label="fragment_push_auth"
    tools:layout="@layout/fragment_push_auth">
    <action
        android:id="@+id/action_pushAuthFragment_to_pushAuthSuccessFragment"
        app:destination="@id/pushAuthSuccessFragment"
        app:enterAnim="@anim/slide_left"
        app:exitAnim="@anim/wait_out"
        app:popEnterAnim="@anim/wait_in"
        app:popExitAnim="@anim/slide_right" />
    <argument
        android:name="pushModel"
        app:argType="com.cyber.authenticator.push.model.PushModel" />
</fragment>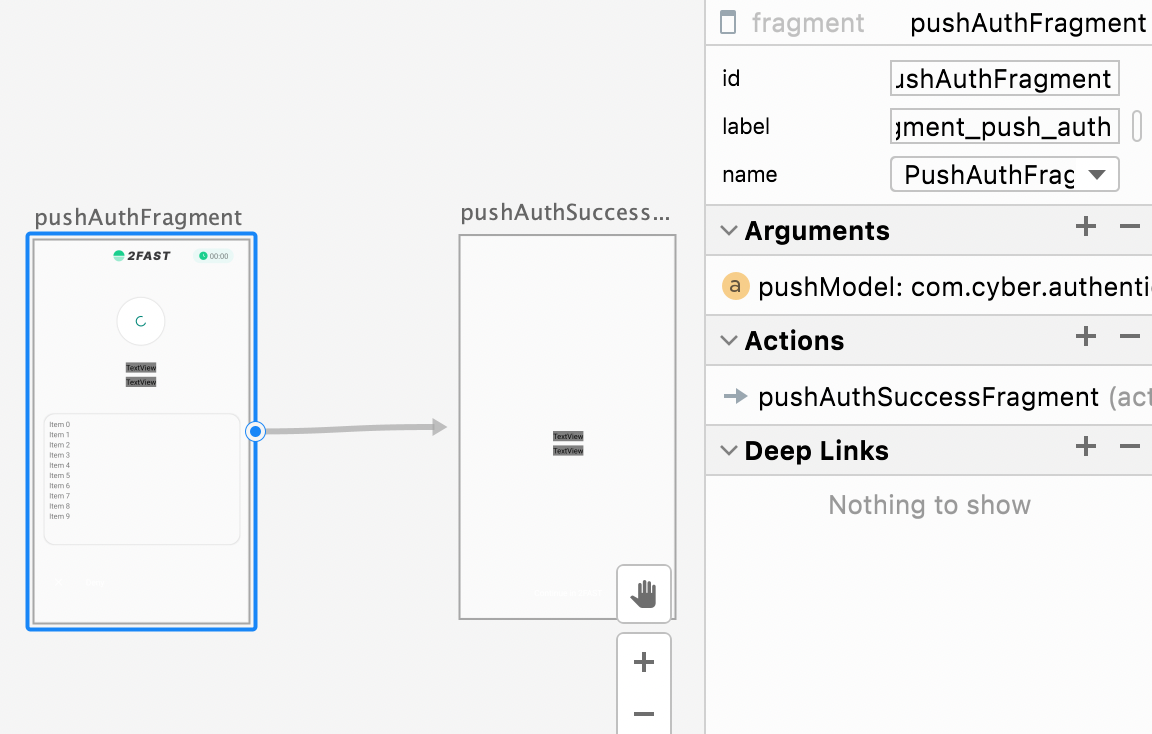
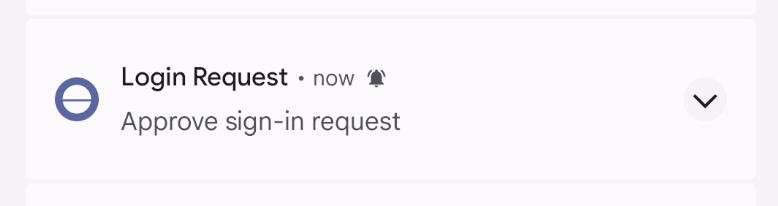
Then, as soon as the app navigates us via nav_graph to the target screen, onActivityCreated(savedInstanceState:) method is invoked and we can obtain our object:
val model = this.arguments?.getParcelable<PushModel>(AuthFirebaseMessagingService.PUSH_MODEL_ARG)The result:
not-running app
With not running the app we can’t use this approach - our nav_graph does not exist yet, nothing is holding fragments yet, and nothing can transfer data. For this case, we should use extras.
What we need to do - is to check extras on the start app, and if there is something (in our case model received from push payload), then we should navigate.
To do so, we can do something as follows:
private fun extractPushModelFromExtrasIfPossible() {
    pushModel = PushModel.createFrom(intent.extras)
    if (pushModel != null) {
       // do the navigation
    }
}
intent.extras is just a Bundle that we can check for some data. All the rest - is just a navigation and model transfer to the screen.
Off cause, u may have some additional logic (like checking if a user is still logged in or if the screen is protected with a touch id, etc). Such situations must be handled in addition.
The good moment for checking extras - onCreate(savedInstanceState:) of target activity:
override fun onCreate(savedInstanceState: Bundle?) {
    super.onCreate(savedInstanceState)
    setContentView(R.layout.activity_intro)
	 // ... any other initial logic
    extractPushModelFromExtrasIfPossible()
}
conclusion
Push notification is a great way to notify u’r users with some info. But always remember that this is an optional way and so can be always disabled by the user.
Using firebase push is easy and well configurable for u’r needs. U may read even more about notifications themselves and various way of configurations.
resource
Share on: