Fastlane for beginners
fastlane utils tutorial Estimated reading time: 14 minutesBefore we start…
originally this post was written on Jan 23, 2017 and available here
Sooner or later every developer will have to open Safari and type https://itunesconnect.apple.com to setup application for distribution via AppStore. But exactly after you login in to iTunes, you will understand, that developer account should be setup first.
“Time is what we want most, but what we use worst” ― William Penn
And since you start, you will see that few more additional steps should be done:
- create an applicationID
- generate certificates (for developing and for distribution)
- setup application features (for example push - notification)
- generate a set of provision profiles and more
And even if you complete this, you should manage all created things, share with teammate, think about security and even more. A lot of stuff, yeh, I know…
“Wait, I just want to send my app to AppStore. Why is not possible to do with one single - line command?».
Actually, it is, and it’s called - fastlane.
##Overview and requirements
«fastlane - is a tool for iOS, Mac, and Android developers to automate tedious tasks like generating screenshots, dealing with provisioning profiles, and releasing your application.» - this is the very first line that you will see on git page, and this is 100% true.
Fastlane is written in Ruby as a set of more or less independent modules, which have built its rich functionality set. It’s structure is easily extendable, since if you want to add some new functionality to the system, you can write simple Ruby scripts and use them within existing fastlane modules or even add new modules to fastlane.
Fastlane provides a bunch of commands which help automate the deployment of apps or even perform different common task. Fastlane is very flexible and scalable tool.
Currently fastlane consists of more than 200 different modules.
We’ll list most useful and popular below and show the basic setup for iTunesConnect delivery system using fastlane.
Since I’m software developer for iOS platform we will deep in process of usage fastlane mostly applicable for iOS-developers, but I’m sure that mains steps are same for all platforms that supported by this great tool.
Fastlane for iOS requires following tools to be installed:
- macOS X El Capitan or higher
- Xcode - developer - tools for xCode 7 or later
- ruby/brew (optionally, recommended)
- textEditor :)
What fastlane can do for us? Well, the list is quite big and include a lot of things:
- deliver: Upload screenshots, metadata, and your app to the App Store
- supply: Upload your Android app and its metadata to Google Play
- snapshot: Automate taking localized screenshots of your iOS and tvOS apps on every device
- screengrab: Automate taking localized screenshots of your Android app on every device
- frameit: Quickly put your screenshots into the right device frames
- pem: Automatically generate and renew your push notification profiles
- sigh: Because you would rather spend your time building stuff than fighting provisioning
- produce: Create new iOS apps on iTunes Connect and Dev Portal using the command line
- cert: Automatically create and maintain iOS code signing certificates
- spaceship: Ruby library to access the Apple Dev Center and iTunes Connect
- pilot: The best way to manage your TestFlight testers and builds from your terminal
- boarding: The easiest way to invite your TestFlight beta testers
- gym: Building your iOS apps has never been easier
- match: Easily sync your certificates and profiles across your team using Git
- scan: The easiest way to run tests for your iOS and Mac apps
In this tutorial we will look through few main features such as match, gym, testflight, sigh. This should be enough for start and setup a good delivery system that will save time for you. So, let’s start.
Environment setup
To install fastlane open your terminal and do next steps:
- check for latest xCode - tools by typing code-select - install
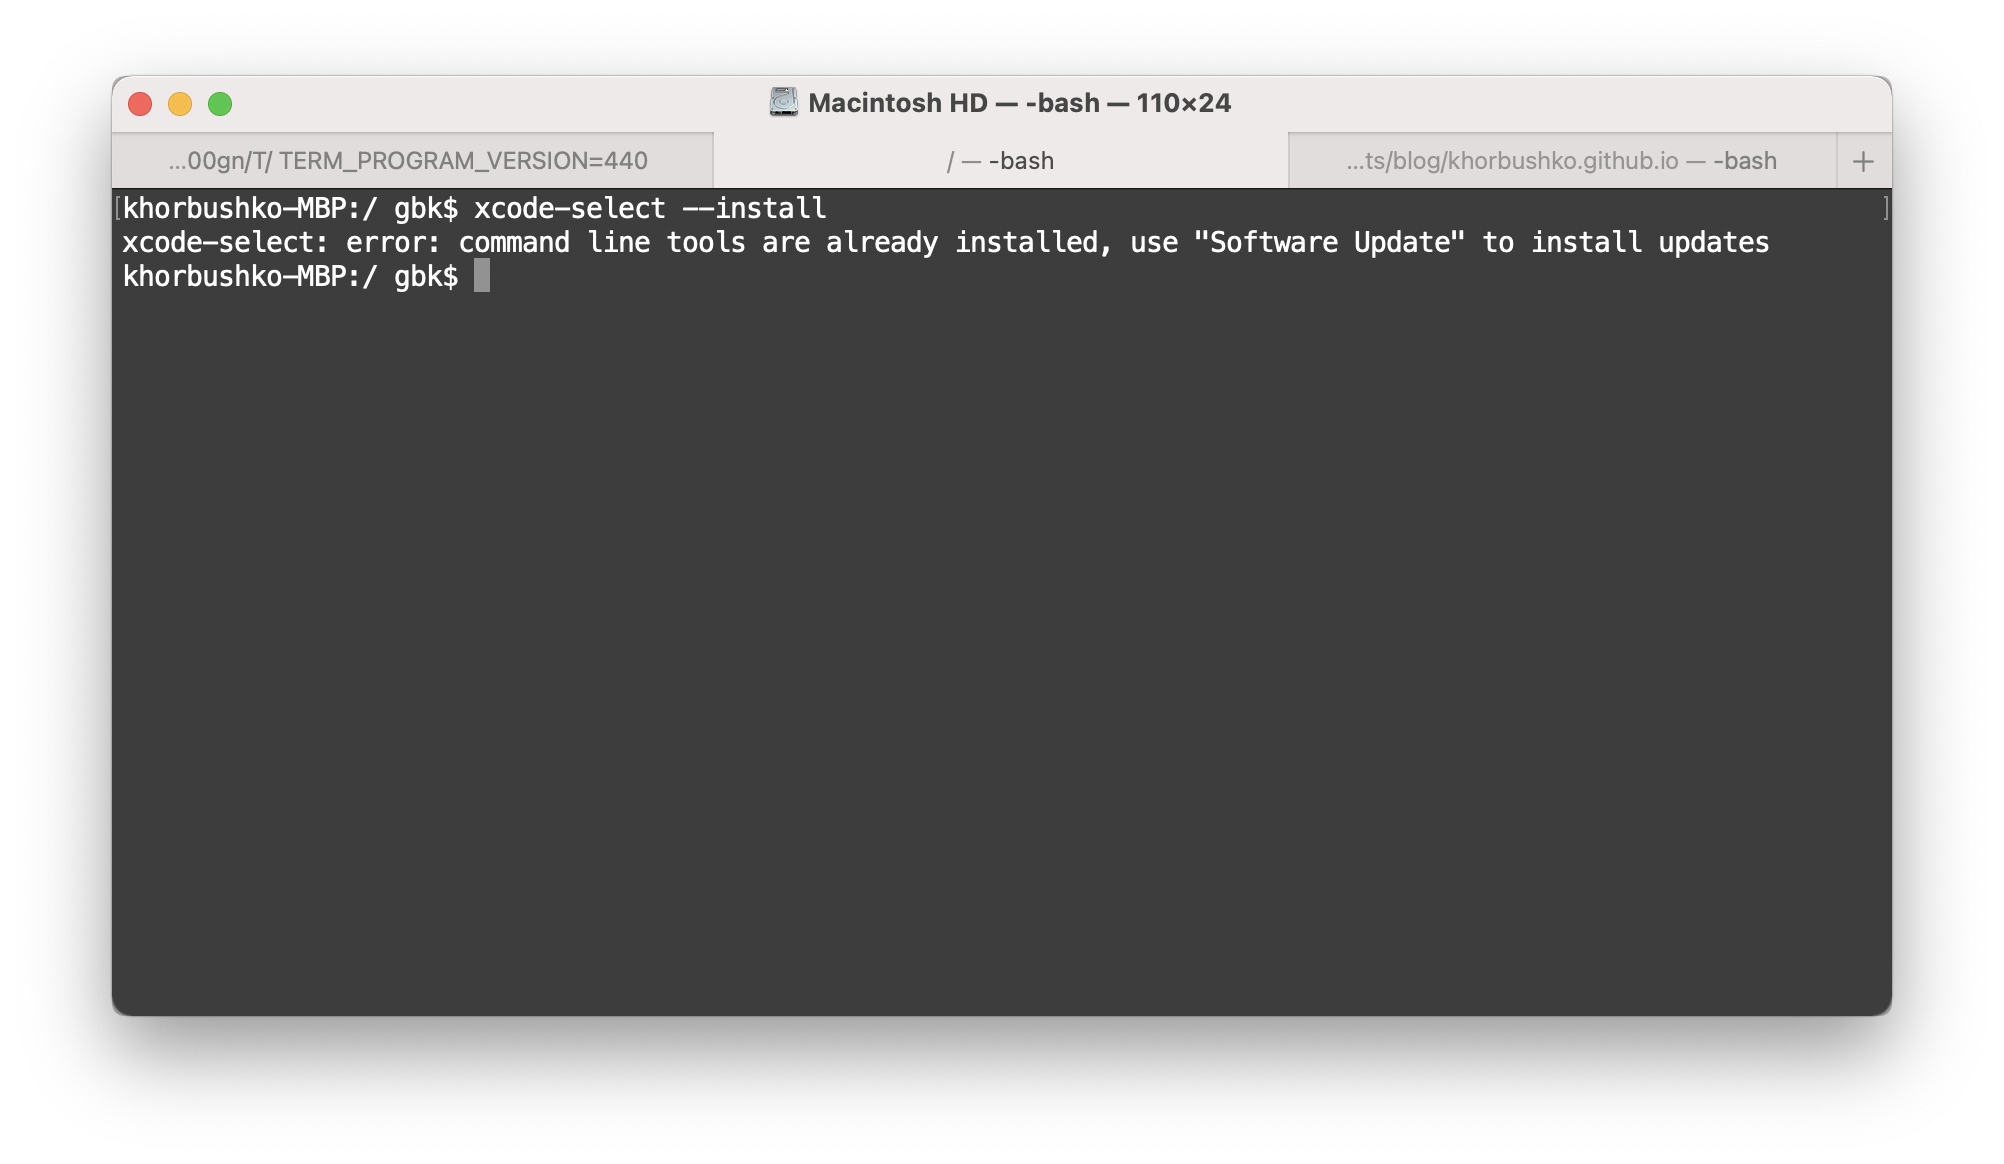
Here, in my case, it’s already installed, if it’s not, you will see log with detailed process description and some pop-Up window with progress for installing xCode tools.
- The next step is to install fastlane itself, to do this just type sudo gem install fastlane
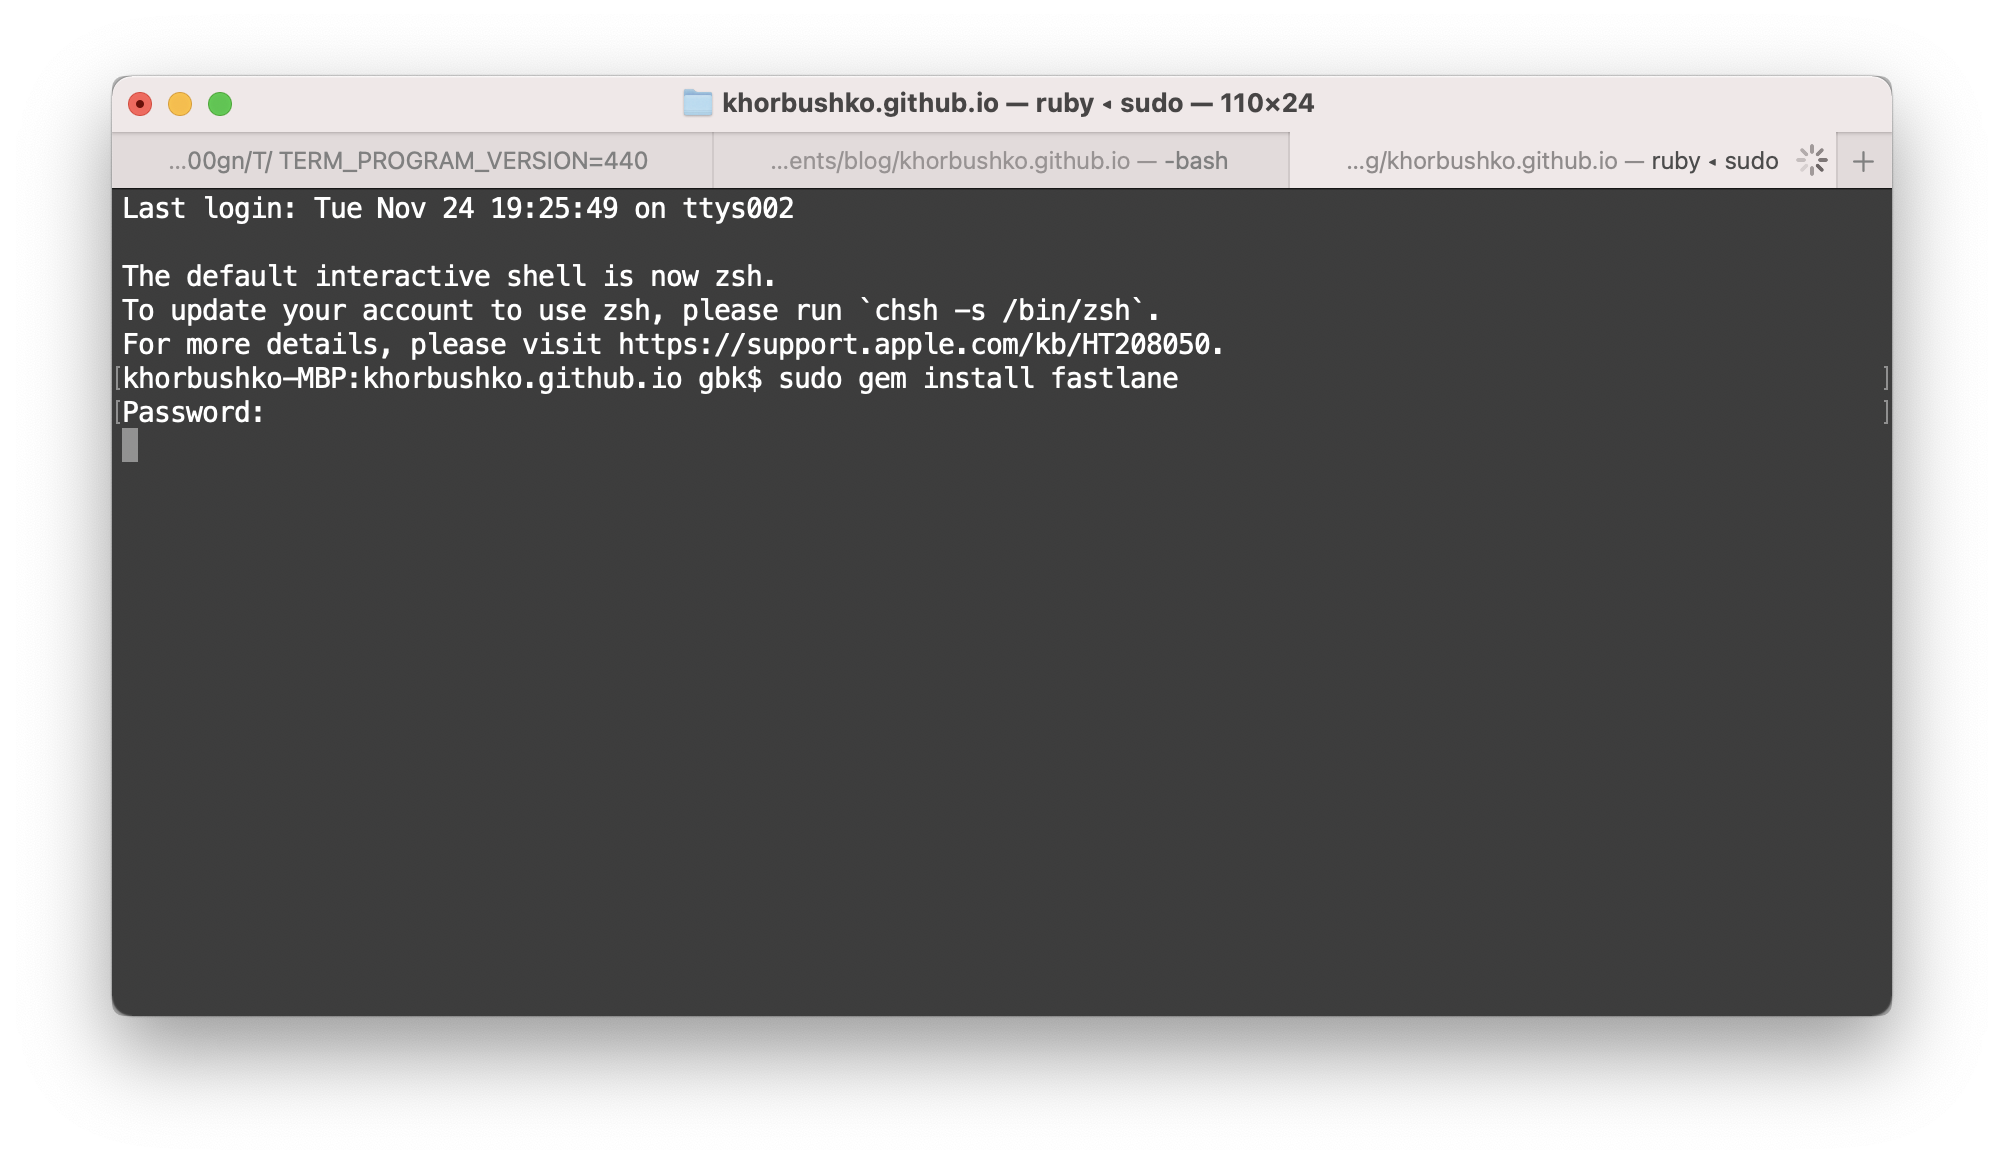
When this 2 steps are done, we can start setup fastlane for test project.
Project setup
You might already have some project, otherwise you can create new one, single-window application. In this tutorial I’ll create new one. I’ll call it «testFastlane»
Tip: If you don’t have project setup in iTunesConnect, you will find “produce” command really useful. I won’t dive into it, but you can get more info here
Navigate to root folder of your project, open terminal and switch to project dir by typing
cd <path_to_root_proj_folder>
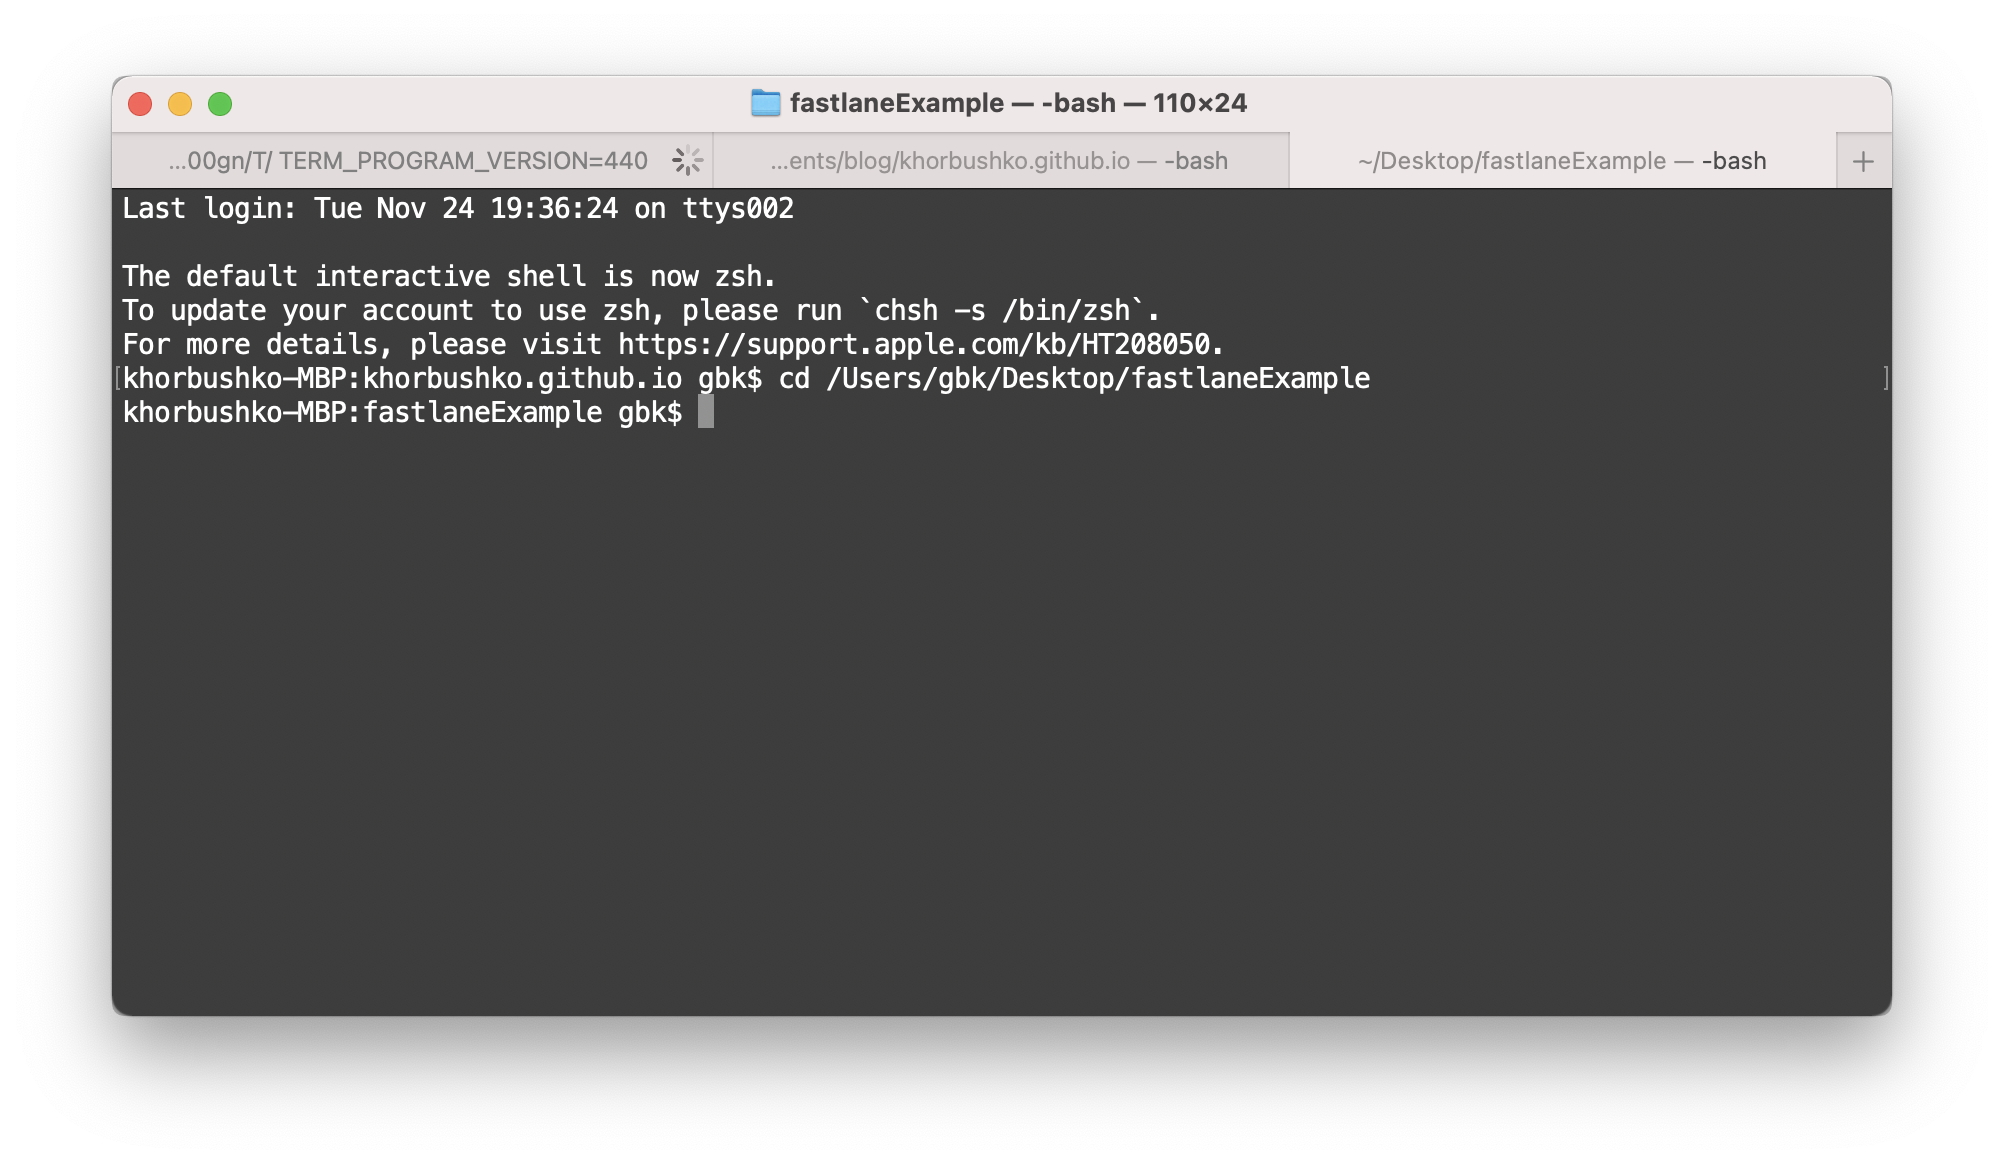
Next, type fastlane init - this command will create default directory with FASTFILE for you. After you will see request to enter your Apple ID, like developer@apple.com. In the next step - fastlane will automatically generate a fastlane configuration for you, based on the information provided.
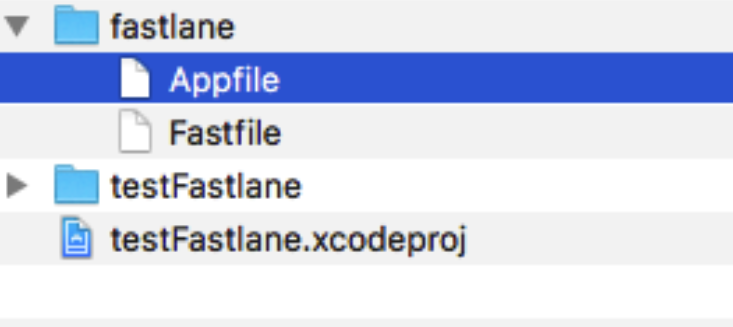
Tip: It’s better to create separate Apple ID for fastlane usage and share it with your team to use with fastlane & CI builds. After creating you will be able to see new fastlane directory with all metadata fetched from iTunesConnect. In my case I don’t have much:
If you have some metadata on account, you will see something like this:
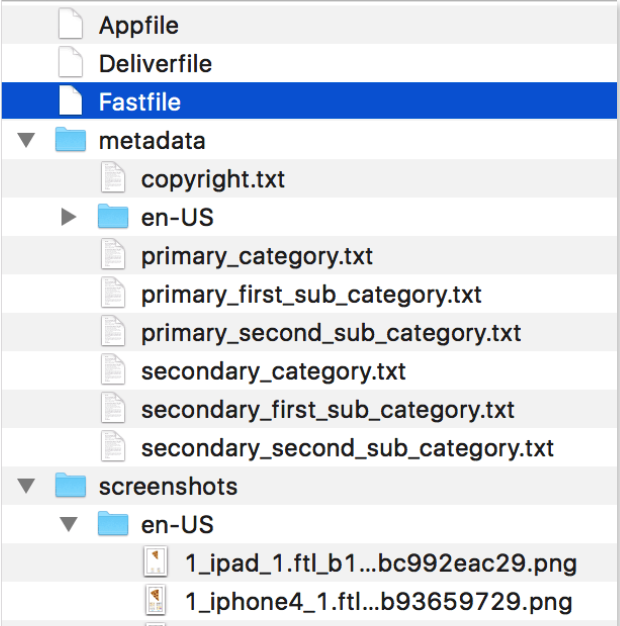
Tip - It’s recommended to use Gemfile to define all dependencies for fastlane. This will allow to define fastlane version and dependencies and share them across the team with the help of “Gemfile.lock”. The Gemfile also speed up work of fastlane.
To prepare Gemfile you need:
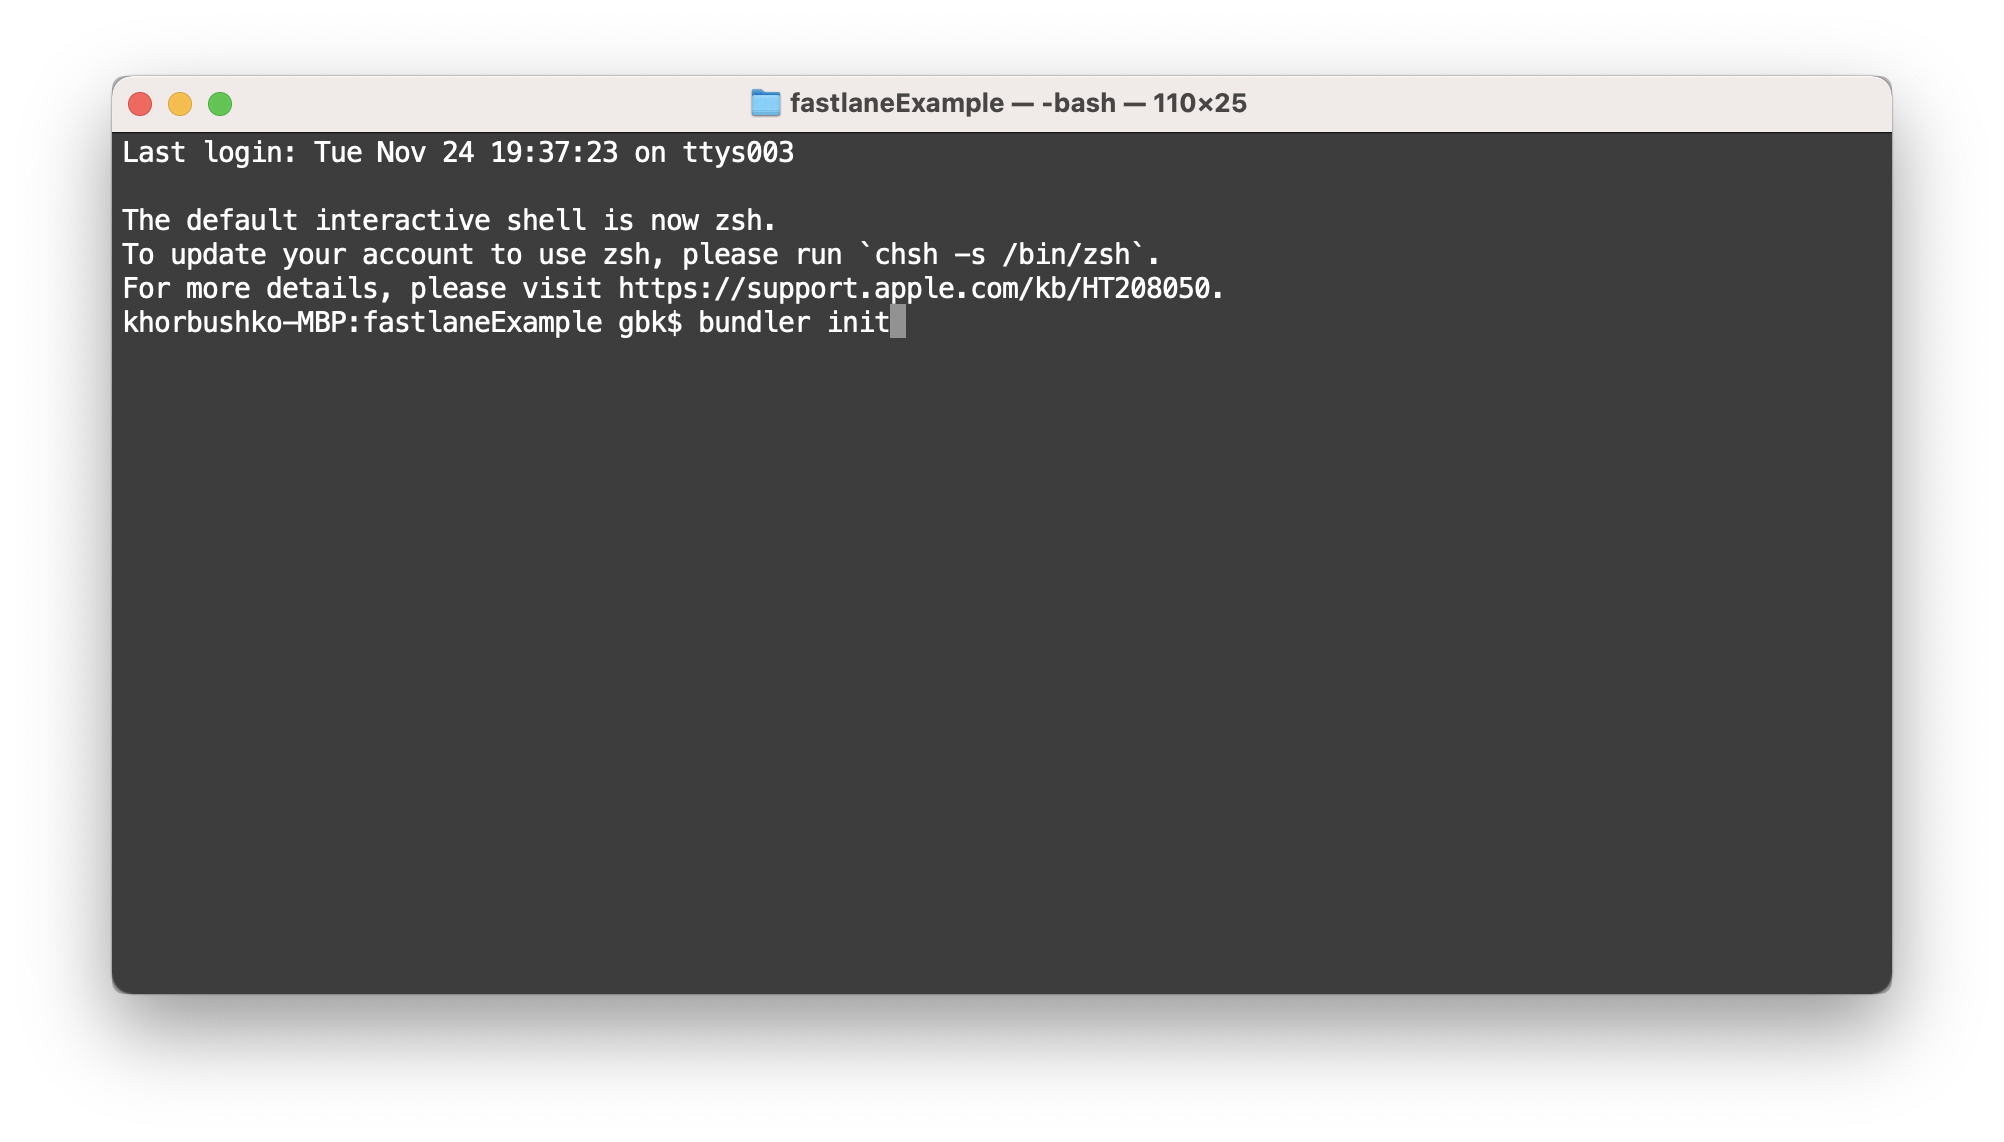
- Install bundler by running sudo gem install bundler
- Run bundler init to create Gemfile like below
Run [sudo] bundle update and add both the ./Gemfile and the ./Gemfile.lock to version control:
- Every time you run fastlane, use bundle exec fastlane [lane]
- On your CI, add [sudo] bundle install as your first build step
- To update fastlane, just run [sudo] bundle update
##FASTFILE config
Tip: FASTFILE is ruby script, evaluated by fastlane core engine when fastlane is launched, for more about ruby visit http://rubylearning.com.
FASTFILE allow you to setup build for any purpose you need. The most common - development build, adHock build, fabric distribution build, iTunes testflight build. All these tasks and, moreover, unit testing can be done with one-line fastlane call
The normal distribution app process consist from few pats. The main one - is code signing process.
Sometimes it’s hard to manage all certificates (especially if you have few developer team on same account or few apps or both of it). Developer, who prepare build, should every time control all things manually, time - to - time you can forget to check something and detect this only after build prepared or even uploaded, but that’s to late, the time is gone. Fortunately, fastlane has a perfect tool for automatic code sign and certificates managing - fastlane match.
I recommend to setup this tool before we start configuring the FASTFILE.
Match setup
At the start you should create some private repository for storing certificates and provision profiles. When you’re done, open terminal, switch to folder with cd command and run match init:
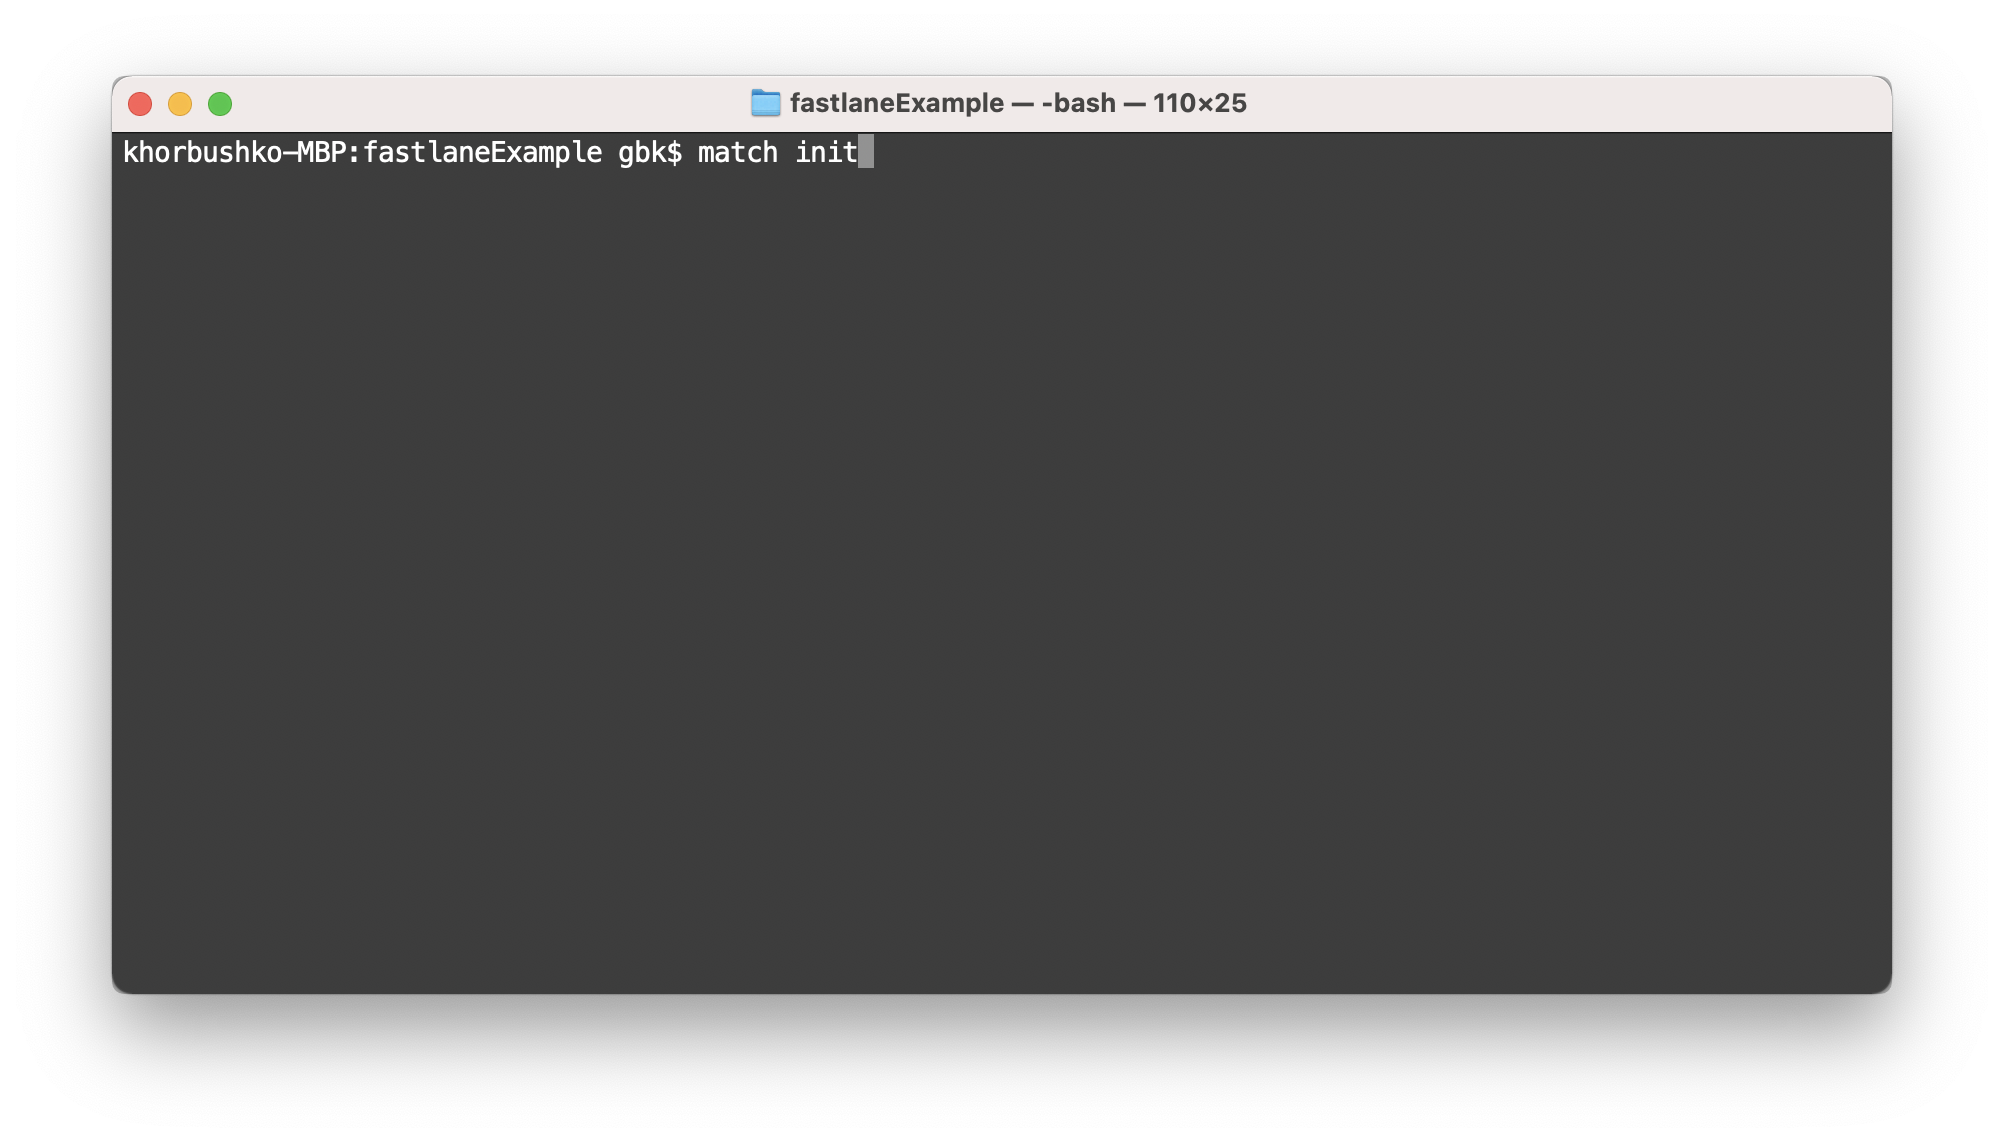
You will be asked for repository url, type url link to connect match with it.
Next you will see success message and proposal to create appropriate certificates and provision profiles pairs on your repository.
If your certificates are not created yet - fastlane will ask about additional information to continue with your request - just follow instruction in console to complete this step.
Let’s create pair for appstore distribution by typing fastlane match appstore. You will see something like on screenshot below:
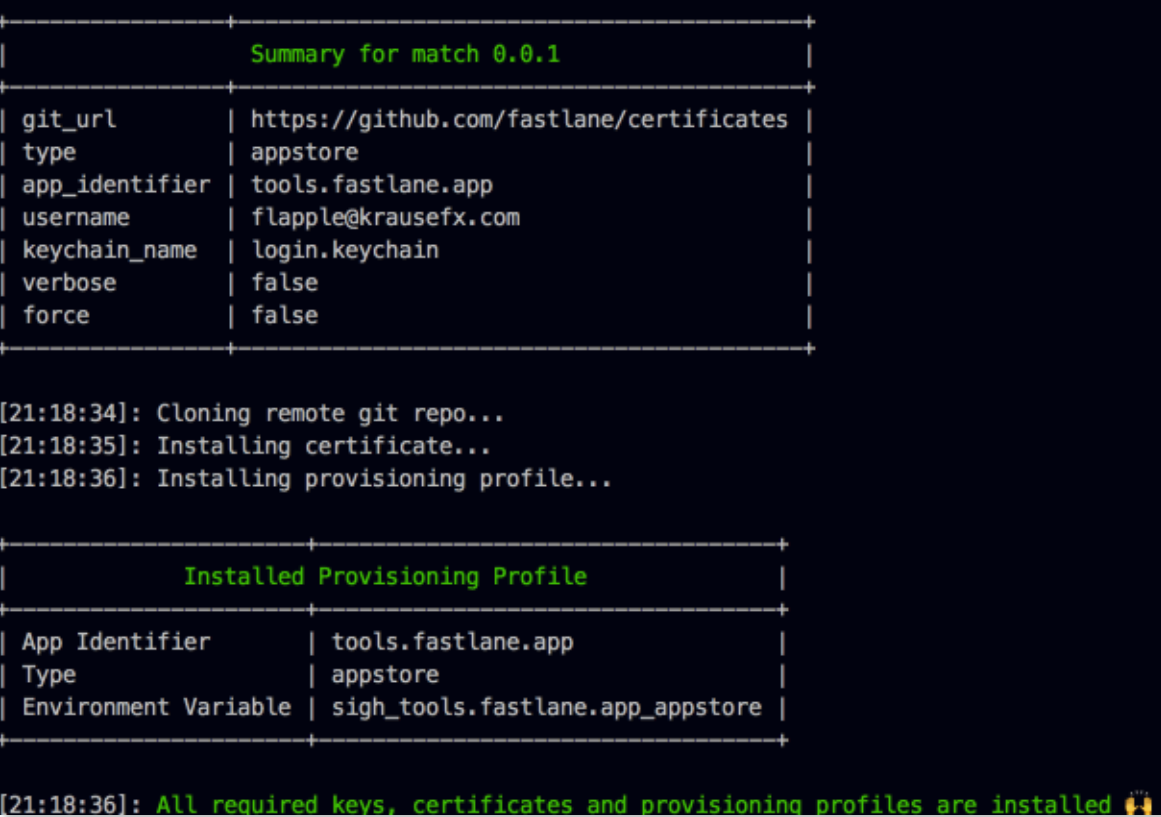
Now, to install created certificates on any machine, just type in terminal fastlane match appstore and all certificates will be installed on the new machine (Of cause you also need to have access to repository and know pass - phrase for encrypted files on it to be able decrypt them).
Tip: If you care about security, repository with certificates and provisions is encrypted with your password, so they don’t appear explicitly available even in git. But for sure it’s worth having these certificates in private repository as well. It might cost some money with GitHub, but bitbucket allows unlimited private repositories so we’ll use it in this case. For more about security check https://codesigning.guide
To answer the question «Is it secure?», just look at features that are available with fastlane match:
- You have full control over the access list of your Git repo, no third party service involved
- Even if your certificates are leaked, they can’t be used to cause any harm without your iTunes Connect login credentials
- Match does not currently support In-House Enterprise profiles as they are harder to control
- If you use GitHub or Bitbucket we encourage enabling 2 factor authentication for all accounts that have access to the certificates repo
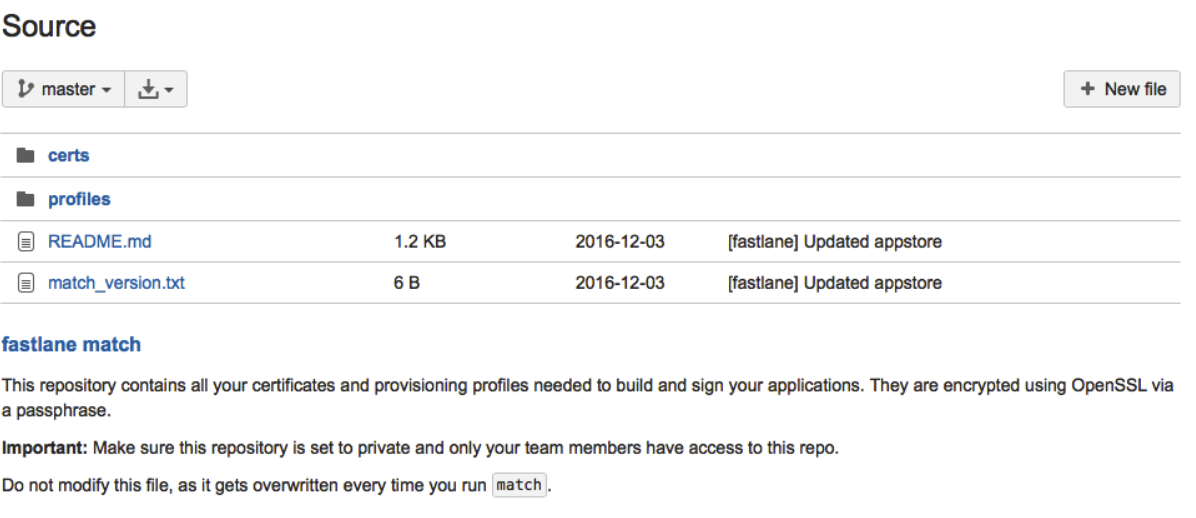
If you go to repository source, you will see content like on screenshot below. Few separate folders with certificates and provision for each type of activity that was setup (in our case only for appStore).
Tip : You can run similar command to add certificates for development (fastlane match development) and adhoc (fastlane match adhoc)
Now, navigate to project folder and open fastlane directory, you will be able to see MATCHFILE. The content of this file will looks like on screenshot below.
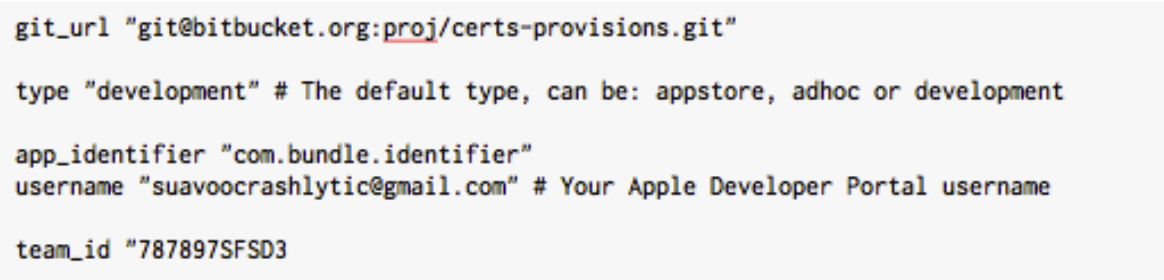
All this information required for match command, to allow properly manage certificates and provision profiles for concrete app.
Configuration
Before opening and editing FASTFILE from the directory in your project, check Appfile - this file should contain appIdentifier of your app, appleID, teamID. If no, you can setup it’s manually, also if some info missing, this mean that something was wrong during setup process. Appfile can look like on screenshot below:
Tip: Symbol
#indicates a line for comment purpose, so it won’t be processed by fastlane, so feel free to put any additional info in file if you want Tip: it’s recommend to use some textEditor with additional functionality instead of standard one textEdit), because sometimes textEdit can auto change some symbols and you will get unexpected results. The good alternative can be Sublime (paid) or TextWrangler (free). But it’s always up to you to choose the most suitable way.
Ok, let’s open FASTFILE. When you open it, you will see some sample implementation with few lanes. It’s good point to start, thus we are ready to implement our own lane, let’s remove everything from FASTFILE to start from scratch.
Tip: You can go to online service and create FASTFILE with friendly UI - https://fabric.io/features/distribution?utm_campaign=github_readme. For our tutorial we will create one lane for iTunes testflight distribution with notification on slack channel. Lets call this lane itunes. To create new lane, simply type
lane :<name> do
end
In our case, this will be like:
lane :itunes do
end
Now, you are able to run this lane from terminal by typing fastlane itunes, but it will do nothing. Try it.
To make our lane more useful, lets add command for building project - gym.
Tip: To get list of all commands simply type fastlane - show lists all available lanes with description or fastlane list - show lists all available lanes without description
lane :itunes do
	gym(scheme: "testFastlane",
		workspace: "testFastlane.xcworkspace",
		include_bitcode: true)
end
Now if you run fastlane itunes, build will be created in root directory of our project.
Good, but not enough. Lets add possibility to auto sign our build using match, that we configure before:
lane :itunes do
	match(app_identifier: "com.testFastlane.sample", type: "appstore")
	gym(scheme: "testFastlane",
		workspace: "testFastlane.xcworkspace",
		include_bitcode: true)
	testflight
end
Now, before building app, fastlane will check certificates and install latest one. We also add additional command testflight - this command will upload your build to iTunes. It’s better, but we can do even more:
lane :itunes do
	ensure_git_status_clean
	build_number = `git rev - list - - count HEAD`
	increment_build_number(build_number: build_number, xcodeproj: "testFastlane.xcodeproj")
	cocoapods(use_bundle_exec: true)
	match(app_identifier: "com.testFastlane.sample", type: "appstore")
	gym(scheme: "testFastlane",
		workspace: "testFastlane.xcworkspace",
		include_bitcode: true)
	testflight
end
A lot of changes, what happened now? Going from top to bottom, we ask fastlane to:
- make sure that there are no uncommitted changes in working copy,
- increment build number and make it equal to q-ty of commits in git
- run pod install. Version of cocoapods can be specified in Gemfile - no more cocoapods version unsynchronized across the team
- check certificates
- create build
- send it to testflight
Yes, thats a lot… and just 1 line of code - fine, but even now, we can do more!
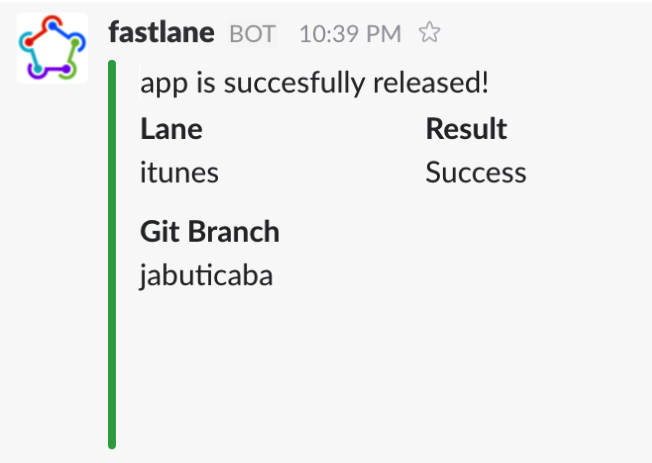
Let’s add additional notification to all teammate in Slack channel, to make sure that everyone be notified about new build.
Tip: Incoming Web-hooks are a simple way to post messages from external sources into Slack. They make use of normal HTTP requests with a JSON payload that includes the message text and some options.
You may need to create Incoming WebHook for Slack integration. To do so, visit https://api.slack.com/incoming-webhooks and follow instruction on this page
To continue, just add one more variable to FASTFILE and call slack command like below:
ENV["SLACK_URL"] ||= "https://hooks.slack.com/services/someURL"
lane :itunes do
ensure_git_status_clean
build_number = `git rev - list - - count HEAD`
increment_build_number(build_number: build_number, xcodeproj: "testFastlane.xcodeproj")
cocoapods(use_bundle_exec: true)
match(app_identifier: "com.testFastlane.sample", type: "appstore")
gym(scheme: "testFastlane",
workspace: "testFastlane.xcworkspace",
include_bitcode: true)
testflight
end
after_all do |lane|
if ENV["SLACK_URL"]
slack(
message: «MyAwesomeApp is successfully released!",
success: true,
)
end
clean_build_artifacts
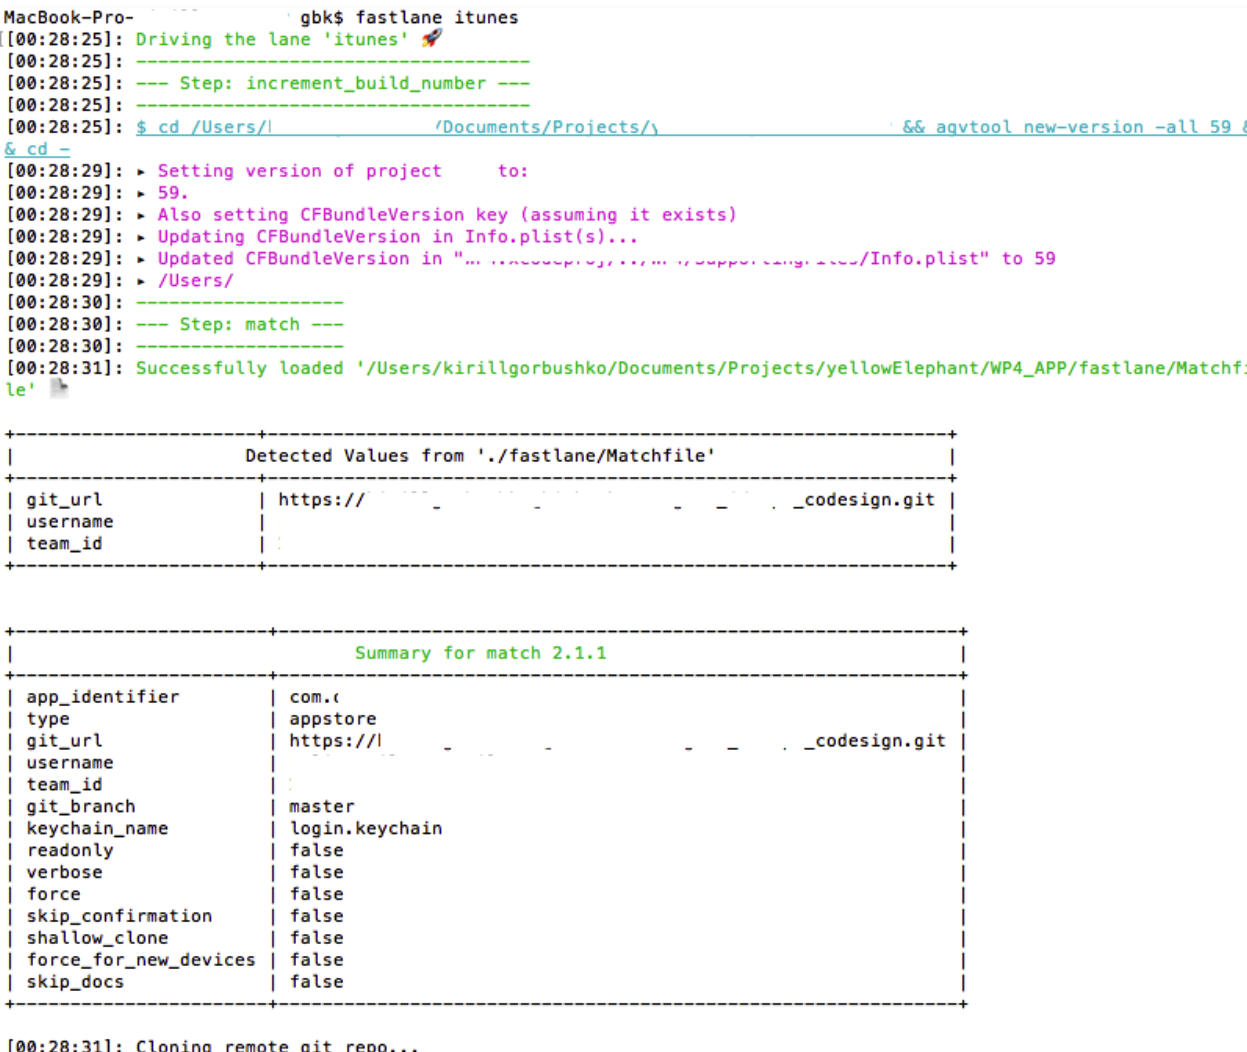
endNow, If you run this lane in terminal (fastlane itunes) you will got next (described by steps):
build increment and match step
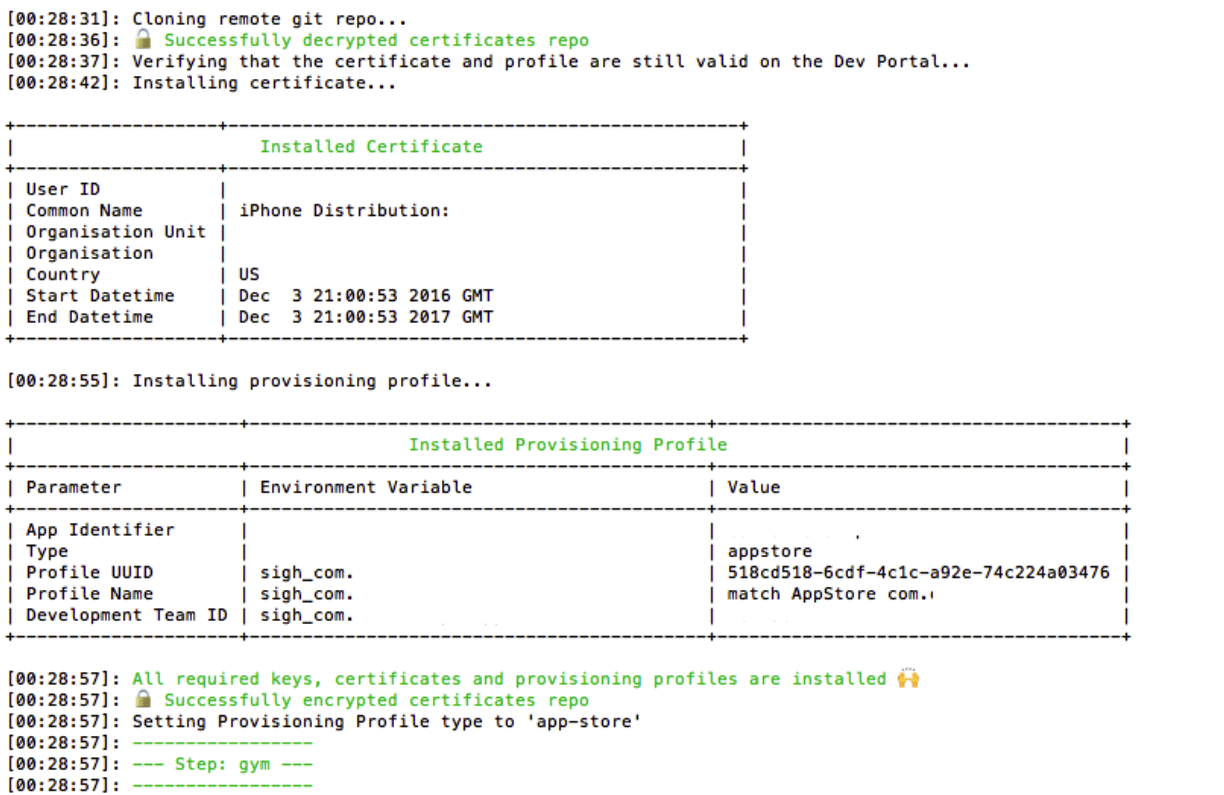
Installing certificates and gym step:
After, compile step log and iTunes upload.
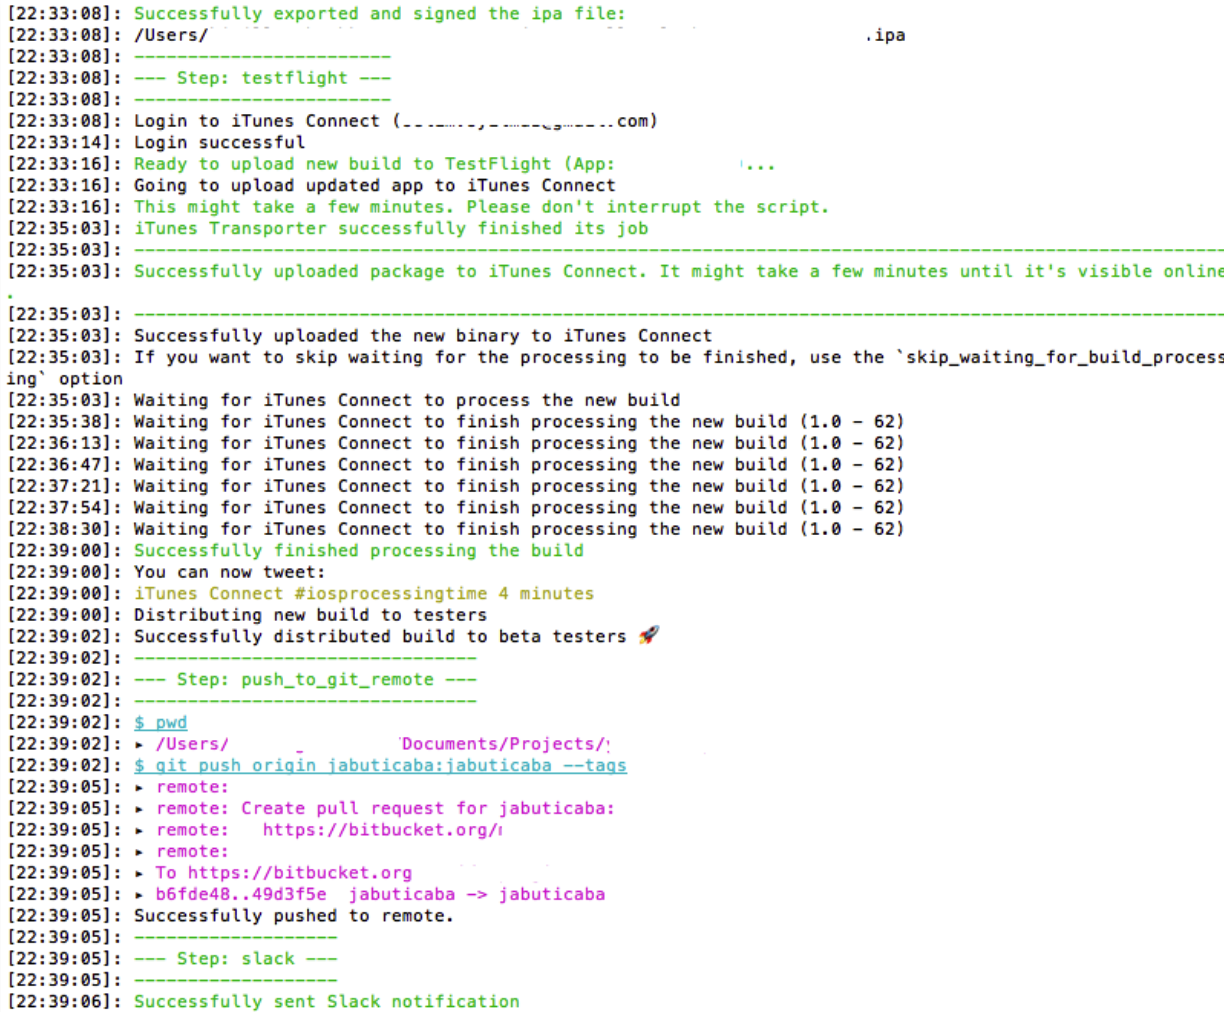
And of course notification on slack
Great, now you should feel yourself better and more powerful

Bonus
Oh, one more thing, almost forgot about - lets add the most major part of lane by following next steps:
- Create new file and put this code inside:
def ship_it
	rand = Random.rand(0..1)
	if rand == 0
		squirrel
	elsif rand == 1
		boat
	end
end

def squirrel
	puts "
	!!!!
	!!!!!!!!
	!!!!!!!!!!! O_O
	!!! !!!!!!! /@ @\\
	!!!!!! \\ x /
	!!!!!!/ m !m
	!!!!/ __ |
	!!!!|/ \\__
	!!!\\______\\
	"
end

def boat
	puts "
	. o ..
	o . o o.o
	…oo
	__[]__
	__|_o_o_o\__
	\\\"\"\"\"\"\"\"\"\"\"/
	\\. .. . /
	^^^^^^^^^^^^^^^^^^^^
	"
end- Save file and call it ship_sugar. Put file in fastlane directory.
- Open your FASTFILE and add next line in the very top:
eval(File.open(File.expand_path("../ship_sugar", __FILE__)).read) - Modify after_all section in FASTFILE:
after_all do |lane|
	if ENV["SLACK_URL"]
		slack(
			message: "MyAwesomeApp is successfully released!",
			success: true,
		)
	end
	ship_it
end
	clean_build_artifacts
end
If you do everything as described above, at the end your FASTFILE should looks like next:
eval(File.open(File.expand_path("../ship_sugar", __FILE__)).read)
ENV["SLACK_URL"] ||= "https://hooks.slack.com/services/SomeURL"

lane :itunes do
	ensure_git_status_clean
	build_number = `git rev - list - - count HEAD`
	increment_build_number(build_number: build_number, xcodeproj: "testFastlane.xcodeproj")
	cocoapods(use_bundle_exec: true)
	match(app_identifier: "com.testFastlane.sample", type: "appstore")
	gym(scheme: "testFastlane",
		workspace: "testFastlane.xcworkspace",
		include_bitcode: true)
	testflight
end

after_all do |lane|
	if ENV["SLACK_URL"]
		slack(
			message: «MyAwesomeApp is successfully released!",
			success: true,
		)
	end
	ship_it
end

	clean_build_artifacts
end
What are hell is it?
Be patience! Let’s run fastlane itunes, at the end, you will be able to see squirrel or ship in terminal like:
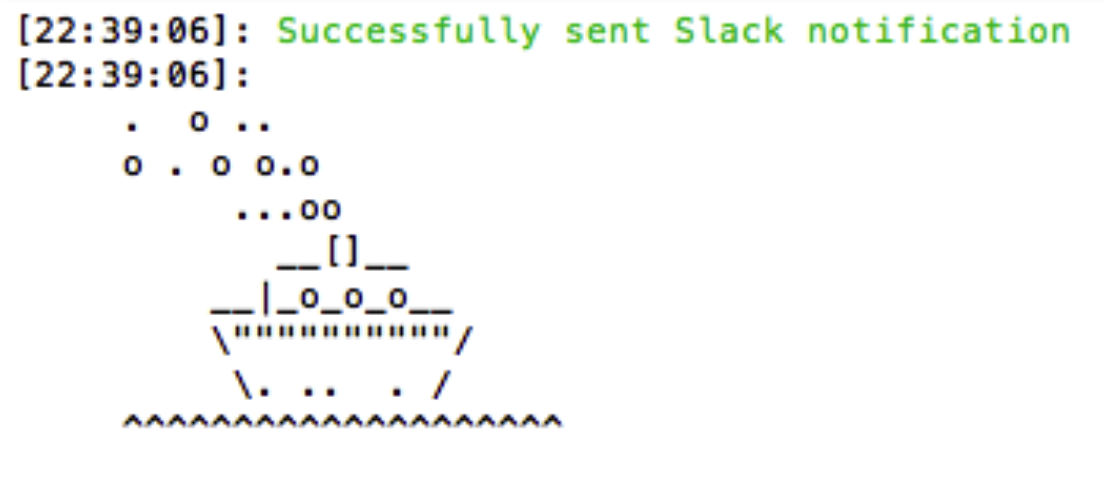
Nice, yeah?
Basically thats all you need to be able start working with fastlane.
Tip: To make the process even more descriptive you can use desc command like desc «Some comment that will be visible in console»
CI integration
fastlane is really powerful tool, it save for us a lot of time on project builds, but it can improve our development process even more. Since fastlane is command line one - liner, it can be used on CI server. Moreover, it can be applied to easily move project between different CI’s like Team-city, Jenkins etc.
Tip: CI : Continuous Integration - is the practice of merging all developer working copies to a shared mainline several times a day.. To read more - visit
In one of the next article I will cover the process of integrating fastlane with CI.
What to do next: If you want to do more, try to do one of next thing:
- create few more lanes for development and adhoc purposes
- integrate crashlytics distribution
- integrate auto - sign (produce, cert, sigh)
In this tutorial we’ve covered a lot of steps, but most of them should be done only once. As a result, fastlane will save your time every day.
As you can see, fastlane allows you to setup automated distribution process with fully controlled flow. You are also able to write your own part and integrate it with fastlane to make it more flexible and matching your needs. To get more info I recommend to visit official web site.
Share on: