Passing data up the view tree in SwiftUI
iOS SwiftUI View dataflow Estimated reading time: 5 minutesDataFlow with SwiftUI can be a bit tricky. Usually, we may pass data below the ViewTree, on the same level of the View and above the ViewTree.
In this article, we review the possibility of transferring data up in the view tree hierarchy. This way of data management can be useful for example if u create a complex View hierarchy and some of the child items haven’t access to the parent properties and so can’t change it. An example may be NavigationBar and change its properties within any nested View or if u would like to get the exact position and size of a component from another component in the same view hierarchy and perform some action within it (alignment of view for example).
Transferring data on the same level of view hierarchy is the simplest case - we just use variables. Transferring data down to the ViewTree hierarchy is possible by using Environment values and objects (I wrote about this here).
Under
DataFlowI didn’t mean one of the type like unidirectinal or bidirectional. Instead, this name used for describing the way how we can pass data in the scope of a singleViewwithin it hierarchy. The idea of how it works a bit described by Apple here.
PreferenceKey
The magic of such kind of data transfer can be achieved by using a PreferenceKey - “A named value produced by a view”. Documentation indeed tells us not much (as usual). At least we can get information that this key is responsible for collecting and possibly combining values from its child views.
Think about NavigationView or TabBar or even about changing colorScheme for View - how we can use viewModifiers to change the values in these views even haven’t access to it?
We can go to the API and check what we have:
public struct PreferredColorSchemeKey : PreferenceKey {
    /// The type of value produced by this preference.
    public typealias Value = ColorScheme?

    /// Combines a sequence of values by modifying the previously-accumulated
    /// value with the result of a closure that provides the next value.
    ...
    public static func reduce(value: inout PreferredColorSchemeKey.Value, nextValue: () -> PreferredColorSchemeKey.Value)
}
Here we can see, that change of colorScheme is done using PreferenceKey.
If we go deeper through API we also can find a function that works within this key and responds when some change occurred:
@inlinable public func onPreferenceChange<K>(_ key: K.Type = K.self, perform action: @escaping (K.Value) -> Void) -> some View where K : PreferenceKey, K.Value : EquatableOkay, let’s try to create our preference and play a bit within it.
Custom key
The process of creating custom PreferenceKey is similar to creating EnvironmentKey - the protocol requires defaultValue and for implementing reduce function, thus multiply views can post the change and it’s up to u to decide how to react on these changes.
To experiment within this, we can create a simple view hierarchy like:
struct TextView: View {
@State private var hideAll: Bool = false
let value: String
var body: some View {
VStack {
Text(value)
Button(action: {
hideAll.toggle()
}, label: {
Text("Press me to \(hideAll ? "show" : "hide") other text")
})
}
}
}
struct SampleView: View {
var body: some View {
VStack {
TextView(value: "Hello")
.padding()
Text("Some other text in")
.padding()
.background(Color.red)
}
}
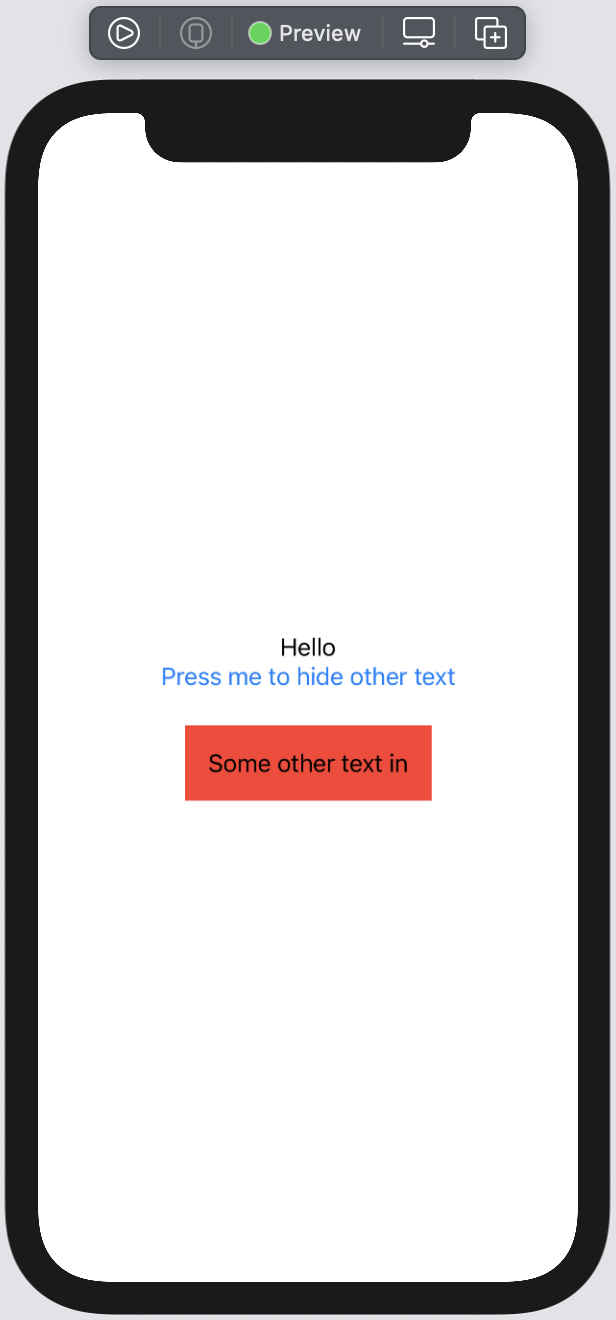
}Here u can see that a TextView should somehow hide a Text in the parent View.
I made the
@Statevariable asprivate- just to simulate the case that we haven’t any. binding or another way to access values from parentView.
Result will be like next:
Now, we need to create a custom PreferenceKey. To achieve this, we need to adopt the protocol PreferenceKey:
struct SampleViewHideTextPreferenceKey: PreferenceKey {

    static var defaultValue: Bool = false

    static func reduce(value: inout Bool, nextValue: () -> Bool) {
        value = nextValue()
    }
}
As was mention above, defaultValue - will be used if no-one use this key and reduce(value:nextValue:) - to combine multiply calls into a single result. As I mentioned earlier - it’s up to u to decide how to manage this data. In this case, we always just grab the latest change.
Usage of this preference is a simple one because we just use an existing function:
func preference<K>(key: K.Type = K.self, value: K.Value) -> some View where K : PreferenceKeyin our case - whenever we change this key we just call
preference(key: SampleViewHideTextPreferenceKey.self, value: newValue)To make it more convinient, we can create View extension:
extension View {
    func hideSampleViewText(_ isHidden: Bool) -> some View {
        preference(key: SampleViewHideTextPreferenceKey.self, value: isHidden)
    }
}
Example
Now we can test this. To do so - add a call to the existing view to be able to respond to preference change and send change from nested child:
struct TextView: View {

    @State private var hideAll: Bool = false
    let value: String

    var body: some View {
        VStack {
        Text(value)
            Button(action: {
                hideAll.toggle()
            }, label: {
                Text("Press me to \(hideAll ? "show" : "hide") other text")
            })
        }
        .hideSampleViewText(hideAll)  // <-- call to change
    }
}

struct SampleView: View {

    @State private var isTextHidden: Bool = false // <-- add state

    var body: some View {
        VStack {
            TextView(value: "Hello")
                .padding()
            Text("Some other text in")
                .padding()
                .background(Color.red)
                .opacity(isTextHidden ? 0 : 1)  // <-- add actual change
                .animation(.easeOut)
        }
        .onPreferenceChange(  // <-- add listener for change
            SampleViewHideTextPreferenceKey.self,
            perform: { value in
                withAnimation {
                    isTextHidden = value
                }
            }
        )
    }
}
Result:
Conclusion
As u can see, the usage of PreferenceKey is easy and yet powerful. This mechanism covers the gap in data transfer up to the view tree. As for me, this option is more useful when you have a deal within complex View like NavigationView or some other composite View with a lot of elements and a big hierarchy. In most cases, we can go a simpler way and just use Binding or other similar options.
Be careful when u send the change - if u send it not from the child view this want work (there are a lot of questions regarding this bug like this ).
Share on: