Ahoy, captain! Give me the Anchor!
iOS SwiftUI Anchor GeometryReader Estimated reading time: 8 minutesBuilding a complex UI may require data exchange between different parts of the view hierarchy. Often we may require an exact position or some coordinate point during various animation processes or even just a point.
Back in UIKit, everything is quite simple - we may ask UIView to convert values (such as frame (CGRect) or point (CGPoint)) from one coordinate system to another and send data using various mechanisms (for example delegate or closure).
check Converting Between View Coordinate Systems part of this official documentation
If we think about SwiftUI - things are a bit different: we can’t use any of these mechanisms. So what we have instead? The answer is Anchor.
Anchor
Anchor is just a struct, that can wrap some value - value that u want to manage and pass between view’s. The official description of this - An opaque value derived from an anchor source and a particular view.
The declaration of this:
@frozen public struct Anchor<Value> {
	@frozen public struct Source { }
}
Inside we also see a nested struct that represents Source - something that generates the value that we want to pass and manipulate later. Source can be used within GeometryProxy object (using subscript mechanism).
GeometryProxycan be obtained fromGeometryReader.
Source is managed using PreferenceKey via special viewModifier - anchorPreference:
@inlinable public func anchorPreference<A, K>(key _: K.Type = K.self, value: Anchor<A>.Source, transform: @escaping (Anchor<A>) -> K.Value) -> some View where K : PreferenceKeyI wrote separate article about PreferenceKey, check it out for more.
Removing generic parameters and constraints for simplification we can see that this view modifier requires from us a few things:
keyto which value will be temporarily storedsource- where to find the value andtransform block- how to transform and represent obtained value.
I would like to mention that in theory, we can pass any Value in the Anchor struct - as u already saw, there are no requirements to it. So we may want to pass our type not related to geometry, but this probably a bad coding style.
In case if u would like to use if for passing CGRect or CGPoint, Apple has prepared for us predefined set of possible options and operations similar to one existing in UIKit:
extension Anchor.Source where Value == CGRect {
    public static func rect(_ r: CGRect) -> Anchor<Value>.Source
    public static var bounds: Anchor<CGRect>.Source { get }
}

extension Anchor.Source where Value == CGPoint {
    public static func point(_ p: CGPoint) -> Anchor<Value>.Source
    public static func unitPoint(_ p: UnitPoint) -> Anchor<Value>.Source
    public static var topLeading: Anchor<CGPoint>.Source { get }
    public static var top: Anchor<CGPoint>.Source { get }

    ...
}
Example
The best way to understand something is by trying it.
As for me, I prefer to have a bit of understanding of an idea before actual coding, that’s why I put a description of how it should be used above.
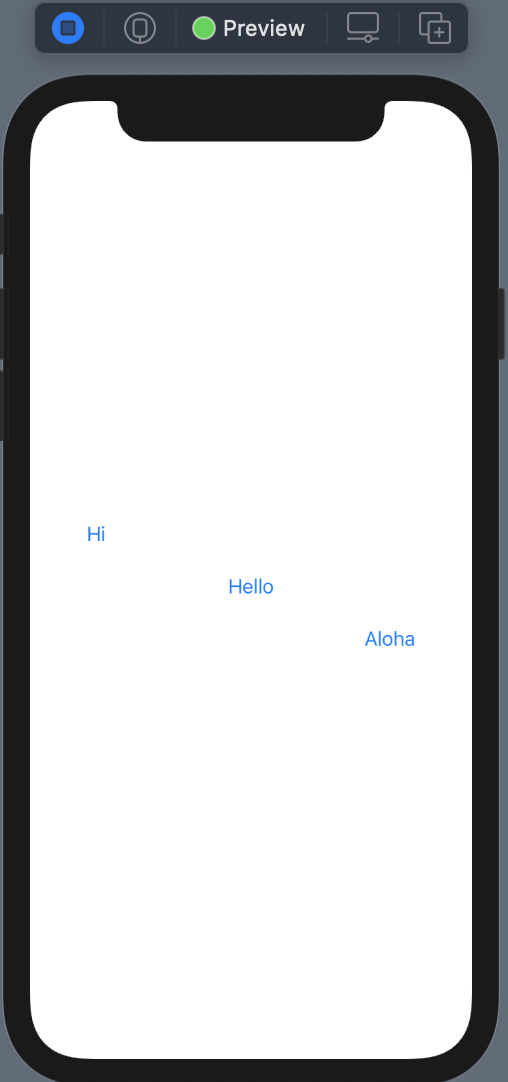
We may create a simple view with a few nested views and pass geometry between them. Code for the view will be very simple:
struct AnchorView: View {

    var body: some View {
        VStack {
            HStack {
                Button(action: {
						// action
                }, label: {
                    Text("Hi")
                })
                .padding()
                Spacer()
            }
            HStack {
                Spacer()
                Button(action: {
						// action
                }, label: {
                    Text("Hello")
                })
                Spacer()
            }
            HStack {
                Spacer()
                Button(action: {
						// action
                }, label: {
                    Text("Aloha")
                })
                .padding()
            }
        }
        .padding(32)
	}
}
I added extra
.paddingon few buttons just to make changes more obvious - u will see it later.
To test Anchor firstly, as was mention above, we should create a PreferenceKey - value that can hold data for us:
struct TextBoundsKey: PreferenceKey {
    static var defaultValue: Anchor<CGRect>? = nil

    static func reduce(value: inout Anchor<CGRect>?, nextValue: () -> Anchor<CGRect>?) {
        value = value ?? nextValue()
    }
}
Here, we declared TextBoundsKey that will be used to manage CGRect (Anchor<CGRect>) - frame of each button.
Next - we can already use the preference key using the modifier described above - anchorPreference. To make things a bit better, we may create a View extension for this. Adding any input parameters that can be used for the transform block is also an option.
So let’s define extension with additional input - flag that can help us to decide whenever we should capture value. Also - pay attenstion to a value - .bounds used - one of predefined options from Anchor<CGRec>:
extension View {
    func captureBounds(_ shouldCaptureAnchor: Bool) -> some View {
        anchorPreference(
            key: TextBoundsKey.self,
            value: .bounds, // <-- var bounds: Anchor<CGRect>.Source
            transform: { anchor in
                shouldCaptureAnchor ? anchor : nil
            }
        )
    }
}
Now, we may add logic to the view that allows us to capture coordinates of the Button only if we press it. To do so we need a @State variable for holding the index of the button and our captureBounds function:
struct AnchorView: View {

    @State private var selectedItemIndex: Int = 0

    var body: some View {
        VStack {
            HStack {
                Button(action: {
                    selectedItemIndex = 0
                }, label: {
                    Text("Hi")
                })
                .padding()
                .captureBounds(selectedItemIndex == 0)
                Spacer()
            }
            HStack {
                Spacer()
                Button(action: {
                    selectedItemIndex = 1
                }, label: {
                    Text("Hello")
                })
                .captureBounds(selectedItemIndex == 1)
                Spacer()
            }
            HStack {
                Spacer()
                Button(action: {
                    selectedItemIndex = 2
                }, label: {
                    Text("Aloha")
                })
                .padding()
                .captureBounds(selectedItemIndex == 2)
            }
        }
        .padding(32)
	}
}
Here u can see that whenever we press a button, the index of a button is stored and captureBounds receive a true flag, that enables Anchor capturing inside the transform block.
Now we may add action on this preference key change. Unfortunately we can’t use existing function for this onPreferenceChange(perform:) because its has Equitable requirements. To solve this, Apple has added overlayPreferenceValue(::).
Thus we capture CGRect, let’s draw a rectangle using transferred value - rect around a selected button. But before adding code for this, I would like to remember how to obtain transferred value - we should use GeometryReader and available subscript from GeometryProxy:
subscript<T>(anchor: Anchor<T>) -> T { get }Usage within our example may be next:
// at the end of body
.overlayPreferenceValue(TextBoundsKey.self, { value in
    GeometryReader { geometryProxy in
        if let value = value { // <-- optional, so unwrap and use if exist
            RoundedRectangle(cornerRadius: 3)
                .stroke(style: StrokeStyle(lineWidth: 2, lineCap: .round, dash: [1, 2], dashPhase: 0.5))
                .frame(width: geometryProxy[value].size.width, height: geometryProxy[value].size.height)
                .offset(x: geometryProxy[value].minX, y: geometryProxy[value].minY)
                .animation(.easeIn)
        }
    }
})
Here the magic is in this code - geometryProxy[value].
This is quite a simple example, and we use everything within one View. An example is good only for initial testing, but in real life we never gonna have such a case - instead, a more complex view tree will be used.
So let’s make this example a bit more realistic and so complex. To do so we may extract Button to separate View and add some additional parameter that can be moved within a CGRect - the color of the rectangle that is drawn around a selected button.
Let’s start by defining our data type for transferring CGRect and Color:
struct AnchorValue {

    let rectAnchor: Anchor<CGRect>
    let color: Color
}
Than - modified version of preferenseKey extension that now use our data type AnchorValue:
struct ColoredTextBoundsKey: PreferenceKey {
    static var defaultValue: AnchorValue? = nil

    static func reduce(value: inout AnchorValue?, nextValue: () -> AnchorValue?) {
        value = value ?? nextValue()
    }
}

extension View {
    func captureColoredTextBounds(_ shouldCaptureAnchor: Bool, color: Color) -> some View {
        anchorPreference(key: ColoredTextBoundsKey.self, value: .bounds, transform: { anchor in
            shouldCaptureAnchor ? AnchorValue(rectAnchor: anchor, color: color) : nil
        })
    }
}
Extracted ButtonView:
struct ButtonView: View {

    // for simplicity this type is not handled RTL and LTR
    enum Alignment {

        case left
        case center
        case right
    }

    let text: String
    let rectColor: Color
    let position: Int
    let alignment: ButtonView.Alignment
    @Binding var selectedIndex: Int

    var body: some View {
        HStack {

            if alignment != .left {
                Spacer()
            }

            Button(action: {
                selectedIndex = position
            }, label: {
                Text(text)
            })
            .padding()
            .captureColoredTextBounds(selectedIndex == position, color: rectColor)
            if alignment != .right {
                Spacer()
            }
        }
    }
}
And finally, our view that uses anchorPreference:
struct AnchorView: View {

    @State private var selectedItemIndex: Int = 0

    var body: some View {
        VStack {
            ButtonView(
                text: "Hi",
                rectColor: .red,
                position: 0,
                alignment: .left,
                selectedIndex: $selectedItemIndex
            )
            ButtonView(
                text: "Hello",
                rectColor: .green,
                position: 1,
                alignment: .center,
                selectedIndex: $selectedItemIndex
            )
            ButtonView(
                text: "Aloha",
                rectColor: .blue,
                position: 2,
                alignment: .right,
                selectedIndex: $selectedItemIndex
            )
        }
        .padding(32)
        .overlayPreferenceValue(ColoredTextBoundsKey.self, { value in
            GeometryReader { geometryProxy in
                if let value = value {
                        RoundedRectangle(cornerRadius: 3)
                            .stroke(style: StrokeStyle(lineWidth: 2, lineCap: .round, dash: [1, 2], dashPhase: 0.5))
                            .foregroundColor(value.color)
                            .frame(width: geometryProxy[value.rectAnchor].size.width, height: geometryProxy[value.rectAnchor].size.height)
                            .offset(x: geometryProxy[value.rectAnchor].minX, y: geometryProxy[value.rectAnchor].minY)
                            .animation(.easeOut)

                }
            }
        })
    }
}
Result:
This example demonstrates a bit more complex viewTree and data.
Consclusion
Using Anchor, we easily can manage the view’s, its geometry and transfer data between viewTree components. This is a very useful technique that helps us build a more complex layout.
Share on: