Push routine
swift pushNotification p8 SwiftUI Estimated reading time: 4 minutesWe always test our code. The more we test - the better product we receive. Sometimes testing is just as easy as writing a simple unit test. But sometimes we involve a mechanism that we can’t control.
On the few last project (almost on all that was written during the past few years) I was faced with push notifications and their testing.
Despite a big amount of tutorials, and good documentation, testing push notifications may become a tricky moment - we should connect a few parts (often some 3rd party tools like MS NotificationHub, Firebase, or AWS) into one - our app.
I would like to share various ways that can be helpful during push testing:
- simulator test
- command-line test
- test with the app
Simulator test
Thanks to xcrun simctl we can now send a push to any app on the simulator if we know it’s bundleID.
To do so, we can ask for help with the command:
xcrun simctl help
The output:
usage: simctl [--set <path>] [--profiles <path>] <subcommand> ...
       simctl help [subcommand]
Command-line utility to control the Simulator
	// ...
	push                Send a simulated push notification
So we can go deeper and find out how it can be used:
khb@MacBook-Pro-Kyryl% xcrun simctl push help
Send a simulated push notification
Usage: simctl push <device> [<bundle identifier>] (<json file> | -)

	bundle identifier
	     The bundle identifier of the target application
	     If the payload file contains a 'Simulator Target Bundle' top-level key this parameter may be omitted.
	     If both are provided this argument will override the value from the payload.
	JSON file
	     Path to a JSON payload or '-' to read from stdin. The payload must:
	       - Contain an object at the top level.
	       - Contain an 'aps' key with valid Apple Push Notification values.
	       - Be 4096 bytes or less.

Only application remote push notifications are supported. VoIP, Complication, File Provider, and other types are not supported.
So now, we can create a file with sample push content:
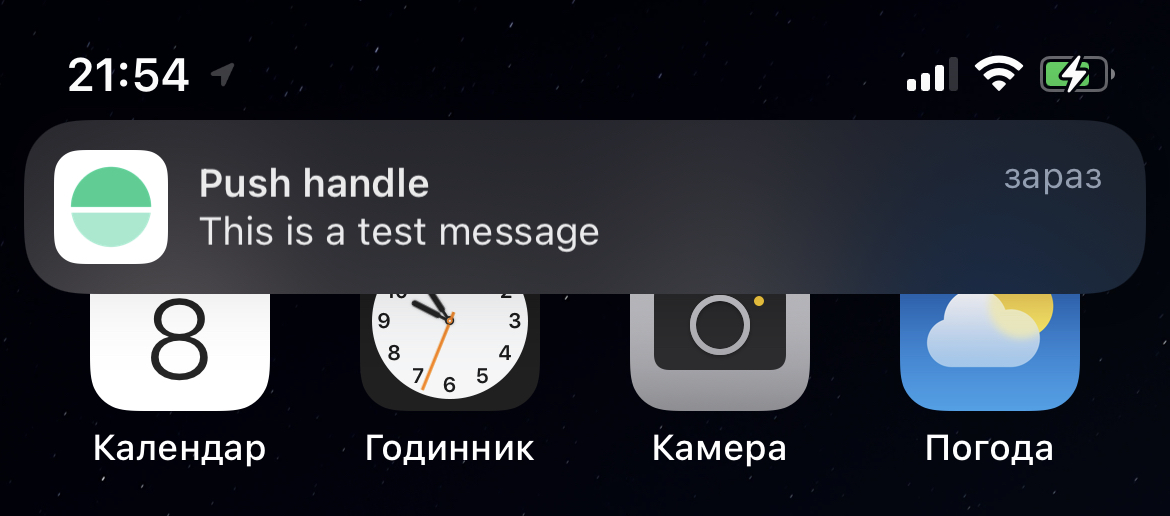
{
  "aps" : {
    "alert" : {
      "title" : "This is a test title",
      "body" : "Test body content"
    }
  }
}
To get the device we can use the same simctl and list devices or simply use the booted value to select the online one.
and run command:
xcrun simctl push booted com.hbk.myApp.bundleId /Users/khb/Desktop/push.apn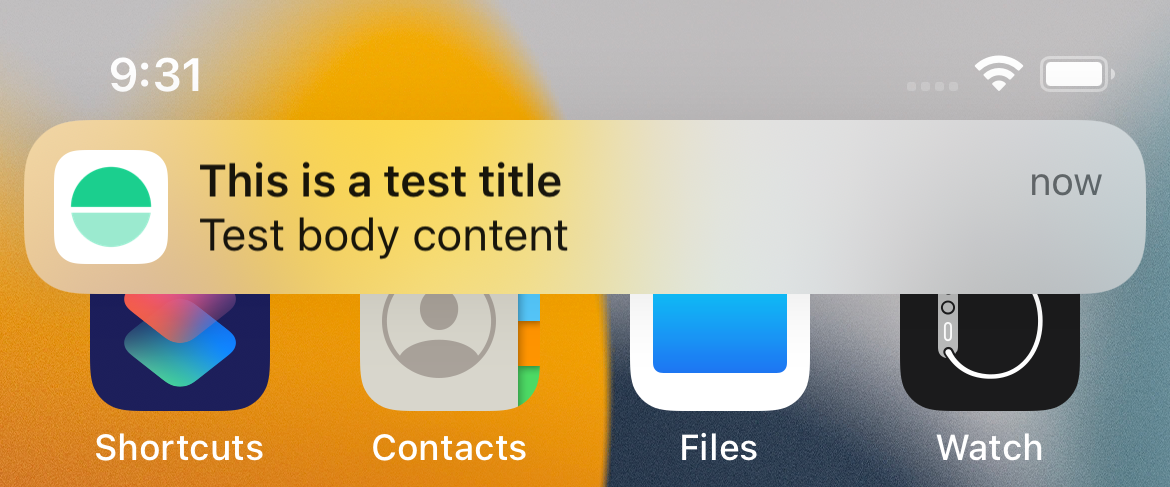
push.apn- it’s just a file with push payload content
Command line test
The great tutorial on how to use it is provided by Apple and available here.
Thanks to this info, we can easily prepare a script that does all steps one by one.
The one already prepared for us and available here.
Script for sending push
# https://developer.apple.com/documentation/usernotifications/sending_push_notifications_using_command-line_tools

PAYLOAD='{"aps":{"alert":{"title-loc-key" : "notification.cartridge.change.title", "loc-key" : "notification.cartridge.change.message", "loc-args": ["Hello from push"] }}}'

TEAMID="<TEAMID>"
KEYID="<KEYID>"
SECRET="<UR P8 file>"

BUNDLEID="<BUNDLEID>"
DEVICETOKEN="<DEVICETOKEN>"

function base64URLSafe {
  openssl base64 -e -A | tr -- '+/' '-_' | tr -d =
}

function sign {
  printf "$1"| openssl dgst -binary -sha256 -sign "$SECRET" | openssl base64 -e -A | tr -- '+/' '-_' | tr -d =
}

time=$(date +%s)
header=$(printf '{ "alg": "ES256", "kid": "%s" }' "$KEYID" | base64URLSafe)
claims=$(printf '{ "iss": "%s", "iat": %d}' "$TEAMID" "$time" | base64URLSafe)
jwt="$header.$claims.$(sign $header.$claims)"

ENDPOINT=https://api.sandbox.push.apple.com:443

URLPATH=/3/device/

URL=$ENDPOINT$URLPATH$DEVICETOKEN

echo $URL

echo $PAYLOAD

curl -v \
   --http2 \
   --header "authorization: bearer $jwt" \
   --header "apns-topic: ${BUNDLEID}" \
   --header "apns-priority: 10" \
   --header "apns-push-type: alert" \
   --data "${PAYLOAD}" \
   "${URL}"
Test with app
To make things even better we can use some app with GUI - this is the simplest process from a UX perspective.
There are a lot of apps available on AppStore for push testing. Almost all of them have some basic functionality as a free one and additional functionality is paid.
To get the function u need and to improve knowledge about APNS and certificates we can create everything from scratch.
Thanks to the command line step-by-step guide we have a complete tutorial on whats need to be done - the rest, it’s just a monkey-job.
I’ll skip all moments related to details of implementation, but, after a few hours of coding, we can receive the minimal implementation needed for testing using the .p8 file.
Here is my result:
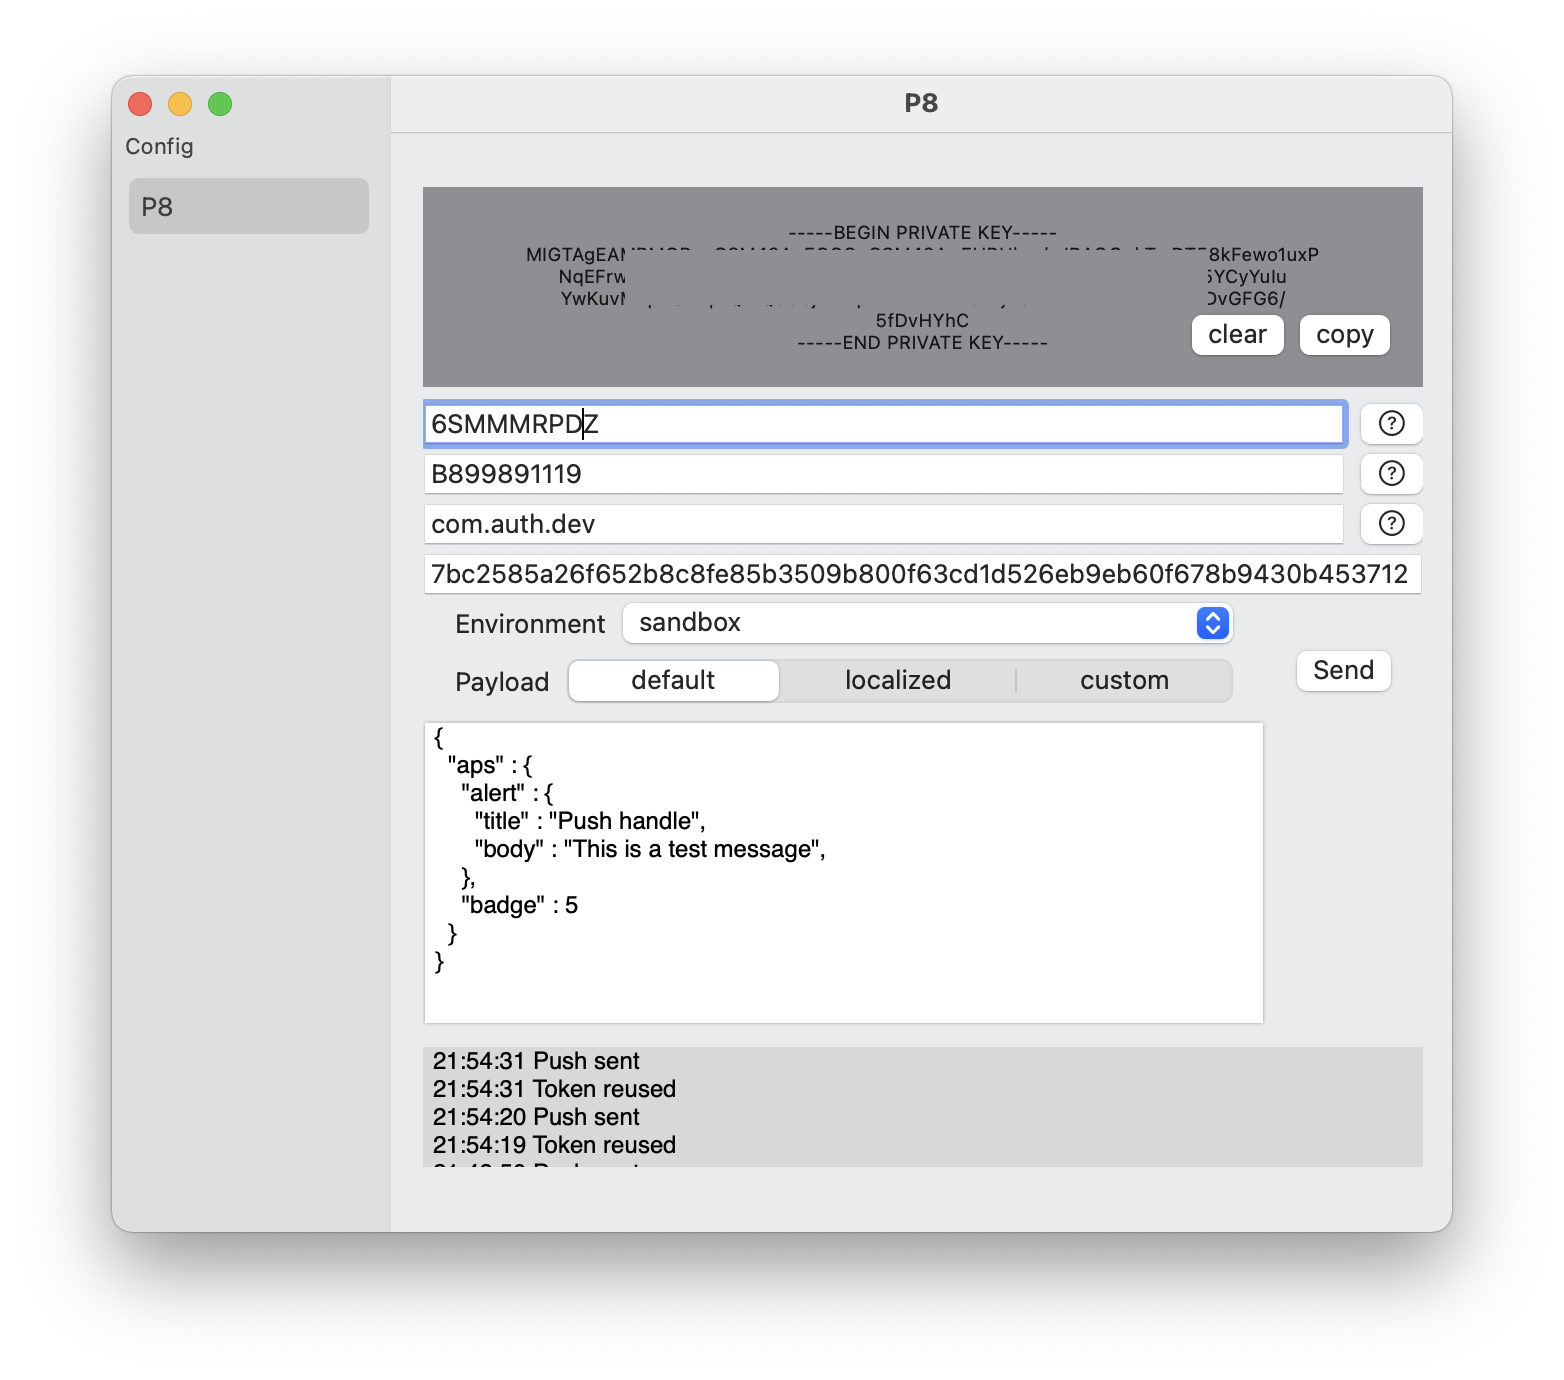
The source code is available here.
As I note - this is a minimal implementation, I planned to add support for .p12 and persistence with extensive logging.
Resources
Share on: