Animated background
swift animation SwiftUI GeometryEffect gif Estimated reading time: 7 minutesCreating something new it’s a very interesting process - u can try to do one thing and, often, while u reach the target u can learn a lot of new stuff.
In the last project, we have a design that shows some insects on gradient background. We can improve this by adding some animations - for both insects and gradients.
Off cause, Customer may not want this, but we can do it just for fun, for exploring some stuff.
We can divide this task into a few parts:
- animating gradient
- animating insects
- animating insects moving with path
animating gradient
Probably the easiest part, especially with SwiftUI. All that we need - is to use LinearGradient as background and animate colors on it.
Rectangle()
      .fill(
        LinearGradient(
          gradient: Gradient(colors: gradientColors),
          startPoint: startPoint,
          endPoint: endPoint
        )
      )
We also need to add animation for it, to do so, we can use hueRotation and saturation modifiers:
  .hueRotation(Angle(degrees: hueRotationValue))
  .saturation(saturationValue)
And to make it even more interesting - we can scaleIn-scaleOut the gradient view:
.scaleEffect(effectFlag ? 3 : 1)AnimatedGradientView code
import Foundation
import SwiftUI

public struct AnimatedGradientView: View {

  @State private var gradientColors: [Color]
  @State private var hueRotationValue = 0.0
  @State private var saturationValue = 1.0
  @State private var effectFlag: Bool

  private let startPoint: UnitPoint
  private let endPoint: UnitPoint
  private let rotationHue: Double

  // MARK: - Lifecycle

  public init(
    colors: [Color],
    rotationHue: Double = 45.0,
    startPoint: UnitPoint = .topLeading,
    endPoint: UnitPoint = .bottomTrailing,
    effectFlag: Bool = false
  ) {
    self.gradientColors = colors
    self.startPoint = startPoint
    self.endPoint = endPoint
    self.rotationHue = rotationHue
    self.effectFlag = effectFlag
  }

  public var body: some View {
    Rectangle()
      .fill(
        LinearGradient(
          gradient: Gradient(colors: gradientColors),
          startPoint: startPoint,
          endPoint: endPoint
        )
      )
      .edgesIgnoringSafeArea(.all)
      .scaleEffect(effectFlag ? 3 : 1)
      .animation(.none)
      .hueRotation(Angle(degrees: hueRotationValue))
      .saturation(saturationValue)
      .onAppear(perform: {
        withAnimation(
          .easeInOut(duration: 3)
            .repeatForever()
        ) {
          hueRotationValue = rotationHue
          saturationValue = 1
          effectFlag.toggle()
        }
      })
  }
}
And the most interesting part - demo:
animating insects
The next part is to show insects - mosquitos in the background, that are flying. To do so we can use a few approaches - use video, use gif, or some other alternatives like a set of png or 3rd party Lottie.
I choose this time gif.
If u interested in how we can show gif on iOS, here is my another post about it
The initial image of the insects is this one:
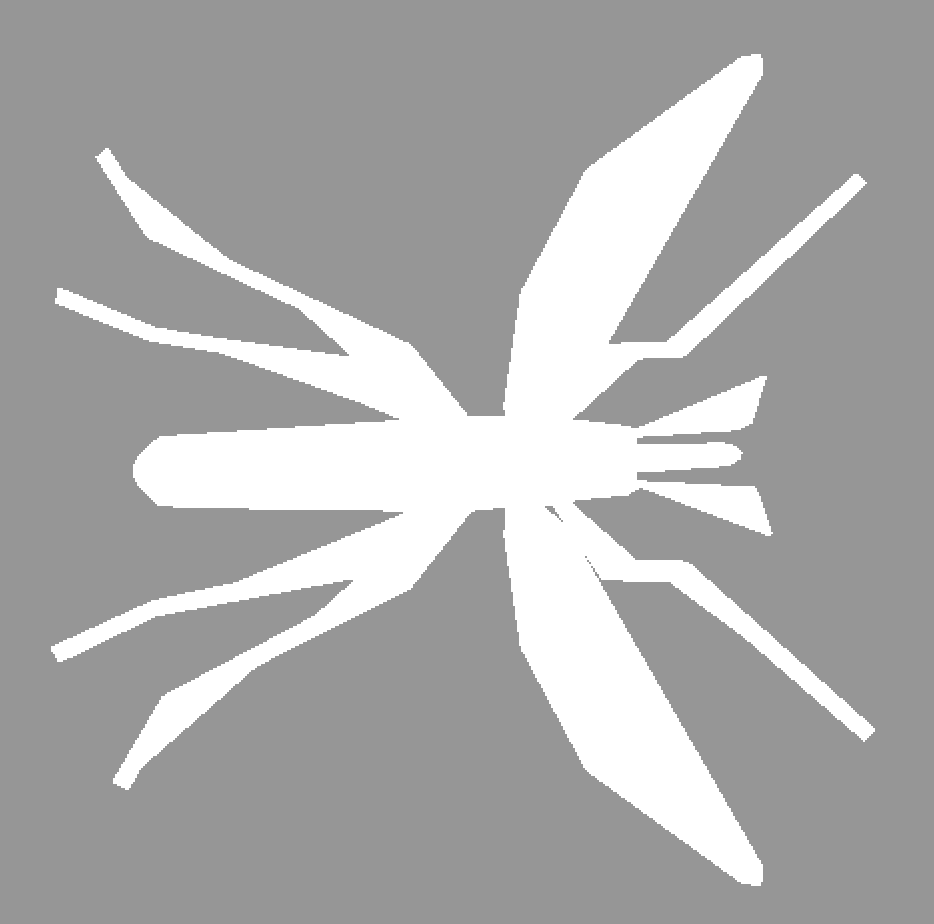
I asked my friend designer to help convert it into a gif, and as result I got this:
Using gif-animator from my implementation make the magif for us:
  Gif(
    name: "mosquito",
    bundle: .main,
    duration: .custom(0.07)
  )
    .background(Color.clear)
    .frame(width: 100, height: 100)
Result:

We can increase the count of the mosquitos by simply creating some loops and changing the position. But it would be great if we can make them movable over the screen, like a real one ;]
animating insects moving with path
If we think about this task, we can divide it into a few parts:
- move gif of mosquitos over the path and rotate them according to selected path direction
- generate for each mosquito unique path and repeat follow infinitely
- generate a lot of mosquitos
Thus I use SwiftUI here, I need to find a way how we can do all these steps.
For
UIKitist’s actually very simple task - we can userCoreAnimationand"position"property to animate something over the path.
let flightAnimation = CAKeyframeAnimation(keyPath: "position")
flightAnimation.path = ovalShapeLayer.path
flightAnimation.calculationMode = .paced
from here
With SwiftUI we have alternative methods that, as usual, have poor documentation. For this trick, we can use GeometryEffect.
I used code prepared by swiftui-lab for this case:
.modifier(
            FollowEffect(
              percentage: self.effectFlag ? 1 : 0,
              path: randomPath(
                in: .init(origin: .zero, size: proxy.size)
              ),
              rotateImage: true
            )
          )
FollowEffect code
//  https://gist.github.com/swiftui-lab/e5901123101ffad6d39020cc7a810798#file-advanced-swiftui-animations-swift-L923

import Foundation
import SwiftUI

public struct FollowEffect: GeometryEffect {

  public var percentage: CGFloat = 0
  public let path: Path
  public var rotateImage = true

  public var animatableData: CGFloat {
    get { return percentage }
    set { percentage = newValue }
  }

  public func effectValue(size: CGSize) -> ProjectionTransform {
    if !rotateImage {
      let pt = percentPoint(percentage)
      return ProjectionTransform(CGAffineTransform(translationX: pt.x, y: pt.y))
    } else {
      // Calculate rotation angle, by calculating an imaginary line between two points
      // in the path: the current position (1) and a point very close behind in the path (2).
      let pt1 = percentPoint(percentage)
      let pt2 = percentPoint(percentage - 0.01)

      let a = pt2.x - pt1.x
      let b = pt2.y - pt1.y

      let angle = a < 0 ? atan(Double(b / a)) : atan(Double(b / a)) - Double.pi
      let transform = CGAffineTransform(translationX: pt1.x, y: pt1.y)
        .rotated(by: CGFloat(angle))

      return ProjectionTransform(transform)
    }
  }

  // MARK: - Private

  private func percentPoint(_ percent: CGFloat) -> CGPoint {
    let pct = percent > 1 ? 0 : (percent < 0 ? 1 : percent)

    let f = pct > 0.999 ? CGFloat(1-0.001) : pct
    let t = pct > 0.999 ? CGFloat(1) : pct + 0.001
    let tp = path.trimmedPath(from: f, to: t)

    return CGPoint(x: tp.boundingRect.midX, y: tp.boundingRect.midY)
  }
}
But the tricky part here - is to make each element (mosquito) move with a different path and with different speeds and with different timing…
If we use one view - then, all animations will be controlled with the same parameter (@State). This is not a good approach - the result will be either same for all instances of mosquitos either with the unpredictable result (for example if we use different timing for every instance and one view for all instances - thus SwiftUI use struct and so 1 @State is about to control all animations - the last instance will be the master one, all other … well - somehow…)
To solve this, we can wrap each instance into a separate struct, so each instance will have a separate @State:
import Foundation
import SwiftUI

public struct RandomPathAnimatedImageView<T: View>: View {
  private struct AnimatedImage: View {
    @State private var effectFlag = false

    let animatedImage: T
    let imageSize: CGSize
    let animationDuration: TimeInterval
    let renderingColor: Color

    public var body: some View {
      GeometryReader { proxy in
        animatedImage
          .foregroundColor(.clear)
          .frame(width: imageSize.width, height: imageSize.height)
          .offset(x: -imageSize.width / 2, y: -imageSize.height / 2)
          .scaleEffect(.random(in: 0.75...1.25) )
          .modifier(
            FollowEffect(
              percentage: self.effectFlag ? 1 : 0,
              path: randomPath(
                in: .init(origin: .zero, size: proxy.size)
              ),
              rotateImage: true
            )
          )
          .opacity(effectFlag ? .random(in: 0.75...0.8) : 0)
          .edgesIgnoringSafeArea(.all)
      }
      .onAppear {
        withAnimation(
          .linear(duration: .random(in: animationDuration/2 ... animationDuration))
            .delay(.random(in: 0...animationDuration/2))
            .repeatForever(autoreverses: false)
        ) {
          effectFlag = true
        }
      }
    }

    func randomPath(in rect: CGRect) -> Path {
      Path { path in
        let rect = rect.insetBy(dx: -rect.width / 4, dy: -rect.height / 4)
        let originX = -rect.width / 4
        let originY = -rect.height / 4
        let point1: CGPoint = .init(x: .random(in: originX...rect.maxX), y: originY)
        let point2: CGPoint = .init(x: rect.maxX, y: .random(in: originY...rect.maxY))
        let point3: CGPoint = .init(x: .random(in: originX...rect.maxX), y: rect.maxY)
        let point4: CGPoint = .init(x: originX, y: .random(in: originY...rect.maxY))

        let points = [
          point2,
          point3,
          point4,
          point1
        ]

        let randomControlPoint: (CGFloat, CGFloat) -> CGPoint = { minX, minY in
          .init(
            x: .random(in: minX...rect.maxX),
            y: .random(in: minY...rect.maxY)
          )
        }

        let startIndex: Int = .random(in: 1...points.count)
        let indices = Array(0..<points.count) + Array(0..<points.count)
        path.move(to: points[indices[startIndex]])

        (0..<points.count).forEach { idx in
          let point = points[indices[idx]]
          path.addCurve(
            to: point,
            control1: randomControlPoint(point.x, point.y),
            control2: randomControlPoint(point.x, point.y)
          )
        }

        path.closeSubpath()
      }
    }
  }

  let animatedImage: T
  let imageSize: CGSize
  let animationDuration: TimeInterval
  let renderingColor: Color
  let multiplicator: Int

  public init(
    animatedImage: T,
    tintColor: Color,
    multiplicator: Int = 1,
    imageSize: CGSize,
    animationDuration: TimeInterval
  ) {
    self.animatedImage = animatedImage
    self.imageSize = imageSize
    self.animationDuration = animationDuration
    self.renderingColor = tintColor
    self.multiplicator = multiplicator
  }

  public var body: some View {
    ZStack {
      ForEach(0...multiplicator, id: \.self) { _ in
        AnimatedImage(
          animatedImage: animatedImage,
          imageSize: imageSize,
          animationDuration: animationDuration,
          renderingColor: renderingColor
        )
      }
    }
  }
}
I used generics here for view input
<T: View>so we can easily switch fromImageto some concreteViewand so replace the back-engine.
Usage:
  RandomPathAnimatedImageView(
    animatedImage: Gif(
      name: "mosquito",
      bundle: .main,
      duration: .custom(0.07)
    )
      .opacity(0.4),
    tintColor: Color.white,
    multiplicator: 20,
    imageSize: .init(width: 32, height: 32),
    animationDuration: 25.0
  )
The final result:

Resources
Share on: