BeagleBone® Blue - Hello to you
linux Debian cross-compile BeagleBone® Blue Eclipse Estimated reading time: 7 minutesRecently I got a Beaglebone® Blue board that uses Linux and provides a wide possibilities for u’r creativity. Using this board u can create a lot of stuff and cover wide areas - from home automation to production purposes.
To utilize such a possibility u need to set up a proper environment and IDE that improves u’r productivity. I choose Eclipse and Linux, thus first is one of the well-known IDEs for embedded development with great support for different tools and last is because of librobotcontrol library that is written for Linux only os.
In this article, I would like to cover the process of configuring Eclipse for cross-compile on Beaglebone Blue (BBB).
Related articles:
- BeagleBone® Blue - initial config via serial port
- Beaglebone® Blue - environment setup
- BeagleBone® Blue - remote debug
- BeagleBone® Blue - debug remote app with root
- BeagleBone® Blue - duplicate & distribute
Toolchain
I have some experience in work related to cross-compile environments - some time ago I was working with the open-wrt platform. This is also a great platform with wide possibilities. The only moment - u need to spend some time correctly configuring the environment. Without some hints sometimes this can be a bit tricky.
In general, everything is quite simple:
- configure toolchain for selected architecture
- Configure Eclipse ide so it can use it
- learn c/c++
- write the app and run it on the platform using the exec file
but, as always, the devil is in details.
I want to cover every step, so the process becomes as simple as possible.
I also suggest to read a bit about cmake, makefile and optionally ninja.
So, toolchain. A set of tools. Thus we use a different architecture on board than one that is used on our PC (mine is macBookPro14,3), we need somehow teach our PC to work with different architecture and to teach to create a proper executable file for it.
As I mentioned, we will configure the environment for BBB board, BBB board uses arm-linux-gnueabihf architecture or in short armhf.
We should download armhf toolchains. There are many different providers of toolchains. But in general, all of them under the hood use the same tools - gdb, gcc, g++, etc. One such provider - Linaro, alternative Arm.
I use a toolchain from Linaro. To download the toolchain - go to this web page. U can select any from the available version that is suitable for u.
Note, that there is a pitfall hidden in these files - u should use binary created with a toolchain that uses glibc of the same version or lower than on u’r board, in other cases, u will receive a linking error, about unknown reference for a symbol in glibc of specific version.
If u need the most fresh build - u can use toolchain from snapshot, but u need to be careful, because, as mentioned on this page - They will break your stuff and drink all your beer. You have been warned. ;]
Again, the main thing is to get in sync with u’r glibc version in the toolchain with glibc version on board (BBB) and glibc version used to prepare any lib that u use for u’r project (the *.o files).
Ok, so we download the toolchain. Now, let’s install it - just unpack the archive to some directory and update u’r path.
wget https://releases.linaro.org/<path to selected version>.tar.xz
tar Jxf gcc-linaro-<version>-x86_64_arm-linux-gnueabihf.tar.xz
PATH=$(pwd)/gcc-linaro-<version>-x86_64_arm-linux-gnueabihf/bin
U may need curl for this -
sudo apt-get install curl
I did this process using the next commands:
wget https://releases.linaro.org/components/toolchain/binaries/7.5-2019.12/arm-linux-gnueabihf/gcc-linaro-7.5.0-2019.12-i686_arm-linux-gnueabihf.tar.xz
sudo tar xvf gcc-linaro-7.5.0-2019.12-i686_arm-linux-gnueabihf.tar.xz -C /opt/
cd /opt/
sudo mv gcc-linaro-7.5.0-2019.12-i686_arm-linux-gnueabihf/gcc-arm-Linux
export PATH=$PATH:/opt/gcc-arm-Linux/bin
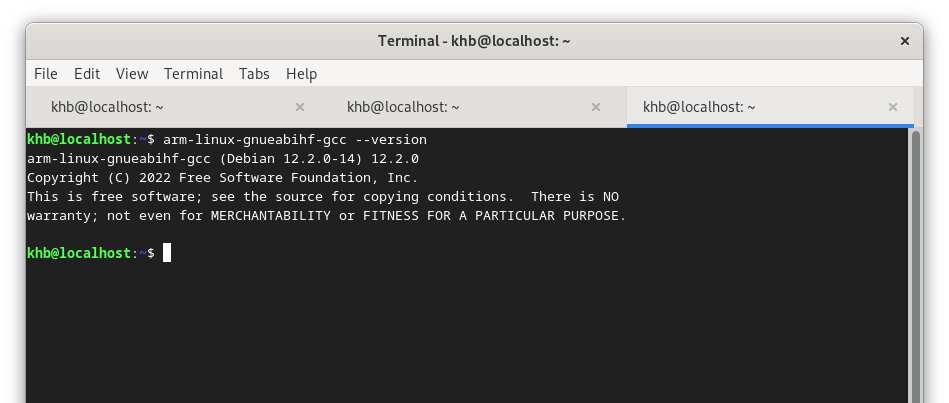
If u did everything correctly - u can just run the command in the terminal to check the version of installed gcc in the toolchain:
arm-linux-gnueabihf-gcc --version
U should get some output like this one:
arm-linux-gnueabihf-gcc (Debian 12.2.0-14) 12.2.0 Copyright (C) 2022 Free Software Foundation, Inc. This is free software; see the source for copying conditions. There is NO warranty; not even for MERCHANTABILITY or FITNESS FOR A PARTICULAR PURPOSE.
To check the version of u’r glibc, just run ldd --version or ~/<path to arm-none-linux-gnueabi install folder>/libc/usr/bin/ldd --version.
As alternative way u can use apt command for installation:
sudo apt install gcc-arm-linux-gnueabihf -y
-ymeans that u accept any question from the installation process with a YES answer
When u install the toolchain u are ready to build the app, just run arm-linux-gnueabihf-gcc hello-world.c -o hello-world.elf, but we will review the more comfortable way to do things.
U may get various failures and errors during this simple process like this one or this. Be patient. ].
As an additional step, u may want to configure u’r apt for target architecture - so u can download and install the library for the arch that is used on board while still using a different architecture. This is needed if u want to build and link libraries that are used in u’r project. To do so, just execute these commands:
sudo dpkg --add-architecture armhf
sudo apt-get update
sudo apt-get install crossbuild-essential-armhf
This called and know as Multiarch.
After this, u can just call a command with an arch suffix to be able to install packages for different architectures.
apt-get install package:architecture
related discussion here
Pitfall: there is a chance, that u may have noted, that the old version of python2.6 is required. This version is old and not available for now. But there is a workaround exists.
wget https://www.python.org/ftp/python/2.7.9/Python-2.7.9.tgz
sudo tar xzf Python-2.7.9.tgz
cd Python-2.7.9
sudo ./configure --enable-optimizations
sudo make altinstall

python2.7 -V
~ Python 2.7.9
sudo ln -sfn '/usr/local/bin/python2.7' '/usr/bin/python2'
sudo update-alternatives --install /usr/bin/python python /usr/bin/python2

sudo update-alternatives --config python
* 0            /usr/bin/python3   2         auto mode
  1            /usr/bin/python2   1         manual mode
  2            /usr/bin/python3   2         manual mode

Press <enter> to keep the current choice[*], or type selection number
1
There is a great tool here - update-alternatives.
Eclipse IDE
Ok, so our toolchain is ready and waiting for actions from us, but we are still not ready :[. We want to use Eclipse IDE, so our process becomes more comfortable and we can use autocomplete and other nice stuff.
We want to use Eclipse for C/C++ developers. The process is quite simple - just download and install.
Done.
Now we are ready to start.
So, the very first program will be the trivial one - Hello-world ;].
Here is a step-by-step guide:
Open the Eclipse app from the folder where it’s installed or by simply running the command from terminal eclipse.
Note: DO NOT USE
SUDOwhile launch eclipse - this is not that u want to do.
Accept or change the suggested Working Folder location. Your projects will be stored there. Note, that u can have a few projects in the same workspace.
Then select File -> New -> Project choose C++ Project and press Next.
Project Name: helloWorldonBBB. This must be Empty project, type - Hello World C++ Project and Cross GCC toolchain selected
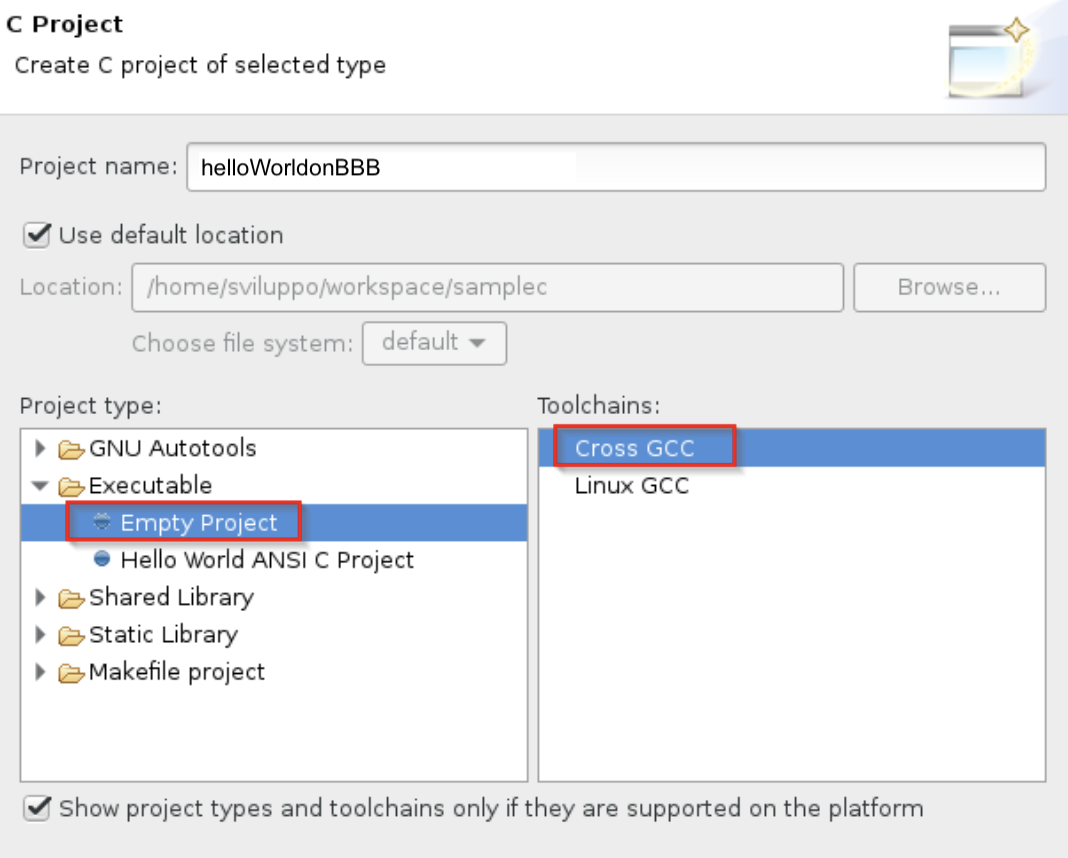
Then press Next.
Select both configurations proposed:
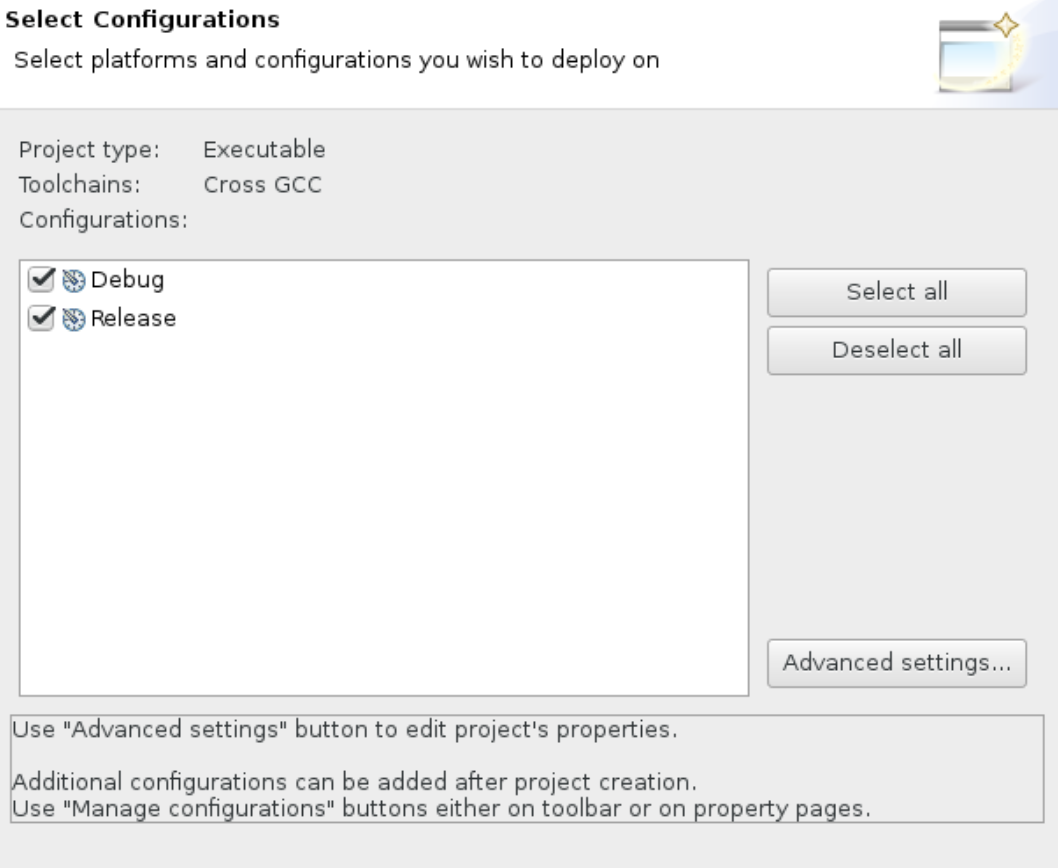
then Next-> Next…
When screen with toolchain path appear, put in Cross-compiler path as path to your toolchain and Cross compiler prefix as arm-linux-gnueabihf-:
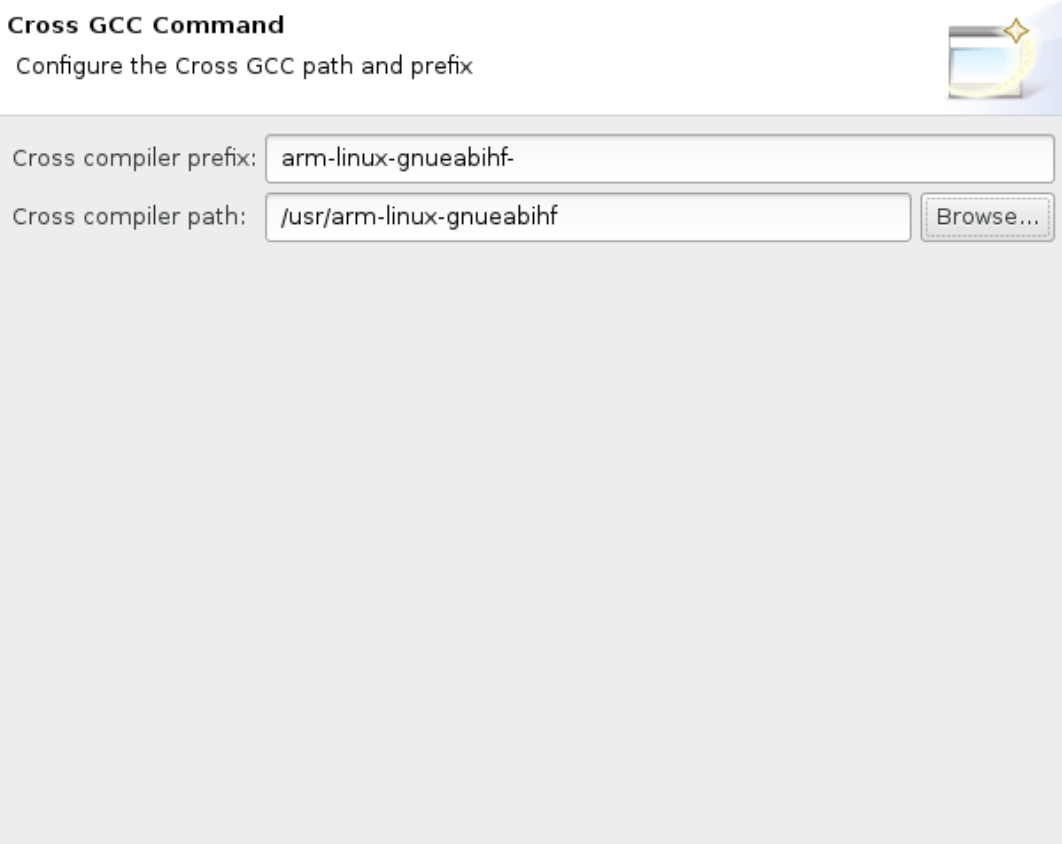
Finish.
We also need to update project settings a bit: right-click on the project name -> Properties -> C/C++ Build -> Builder Settings. Select Builder type: Internal builder then apply and close.
Our app is as simple as possible:
#include <iostream>
using namespace std;

int main() {
	cout << "!!!Hello World BBB!!!" < endl; // prints !!!Hello World BBB!!!
	return 0
}
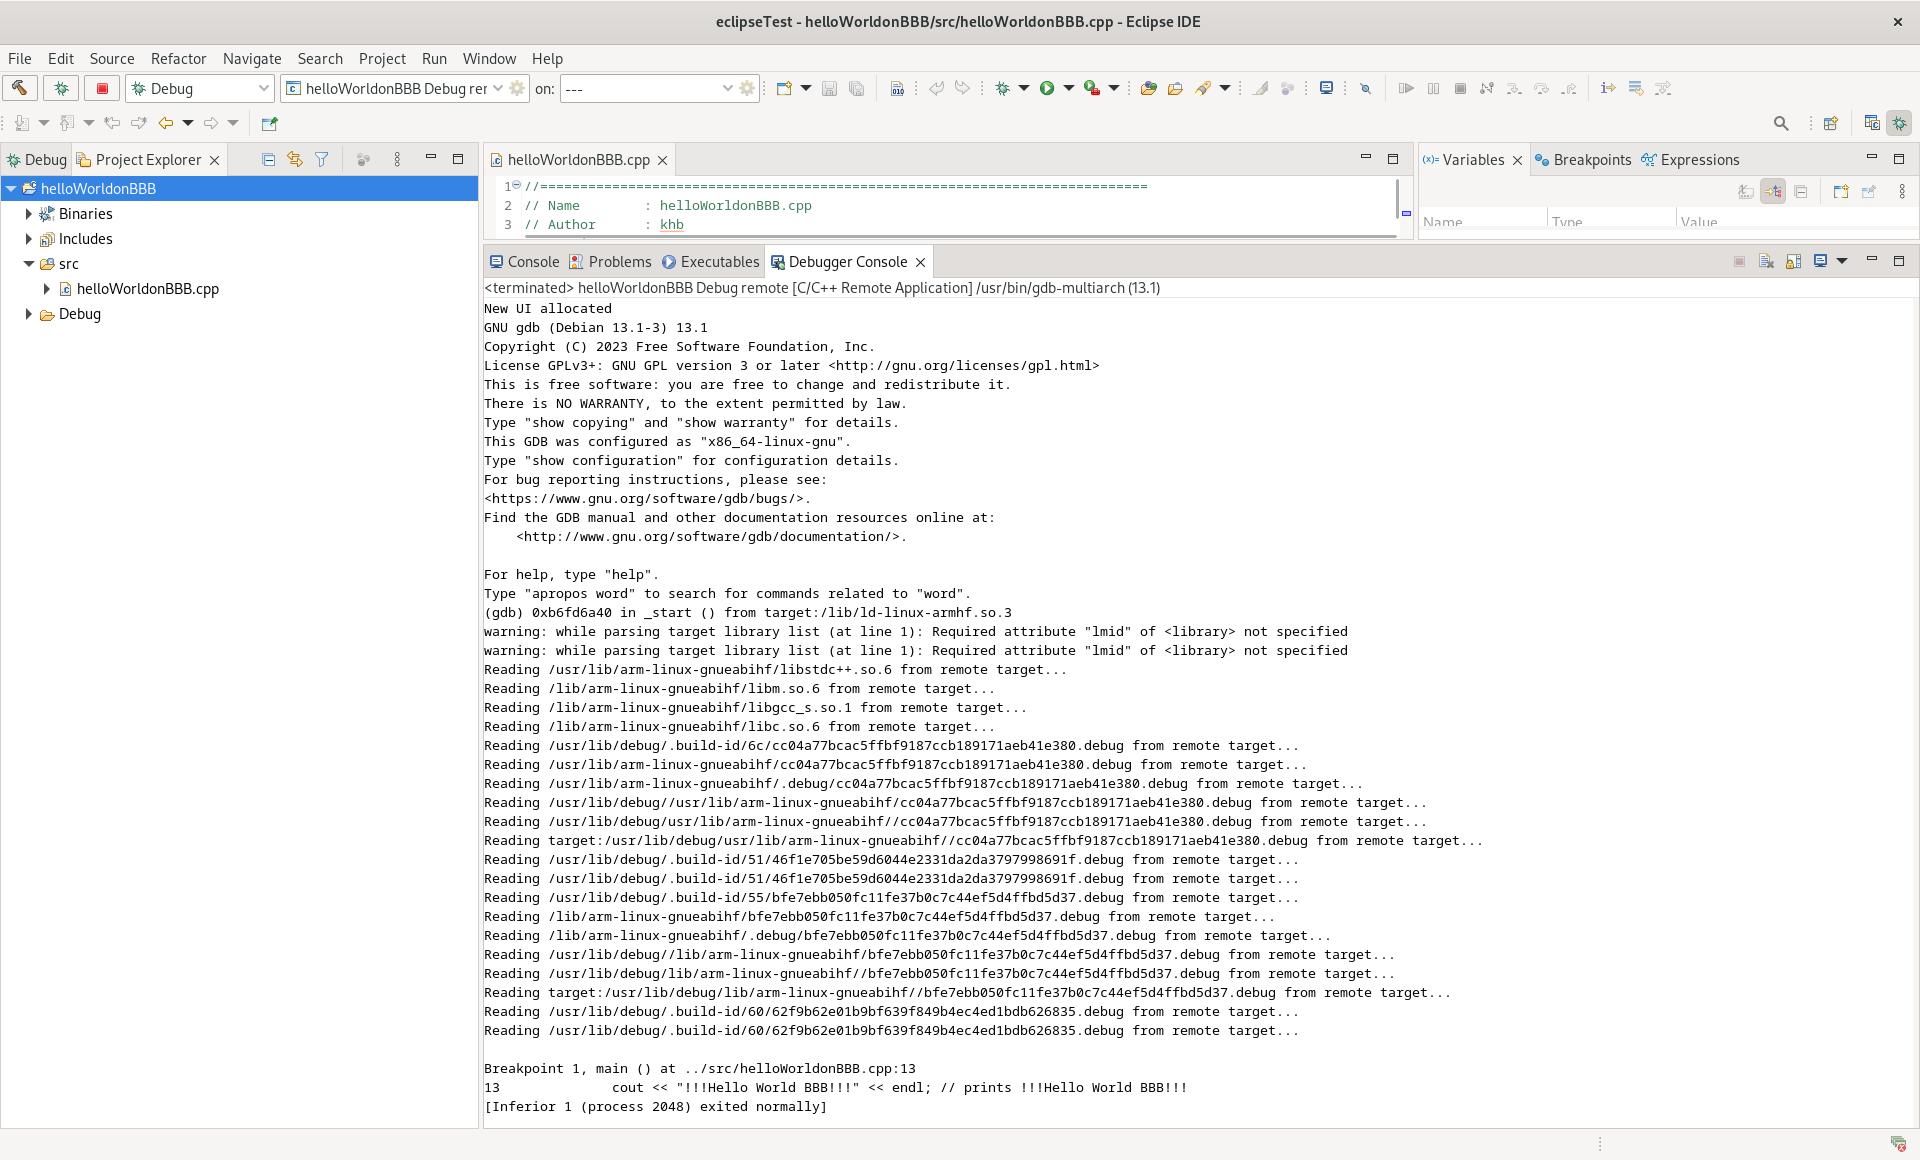
Next action Build -> Build Project
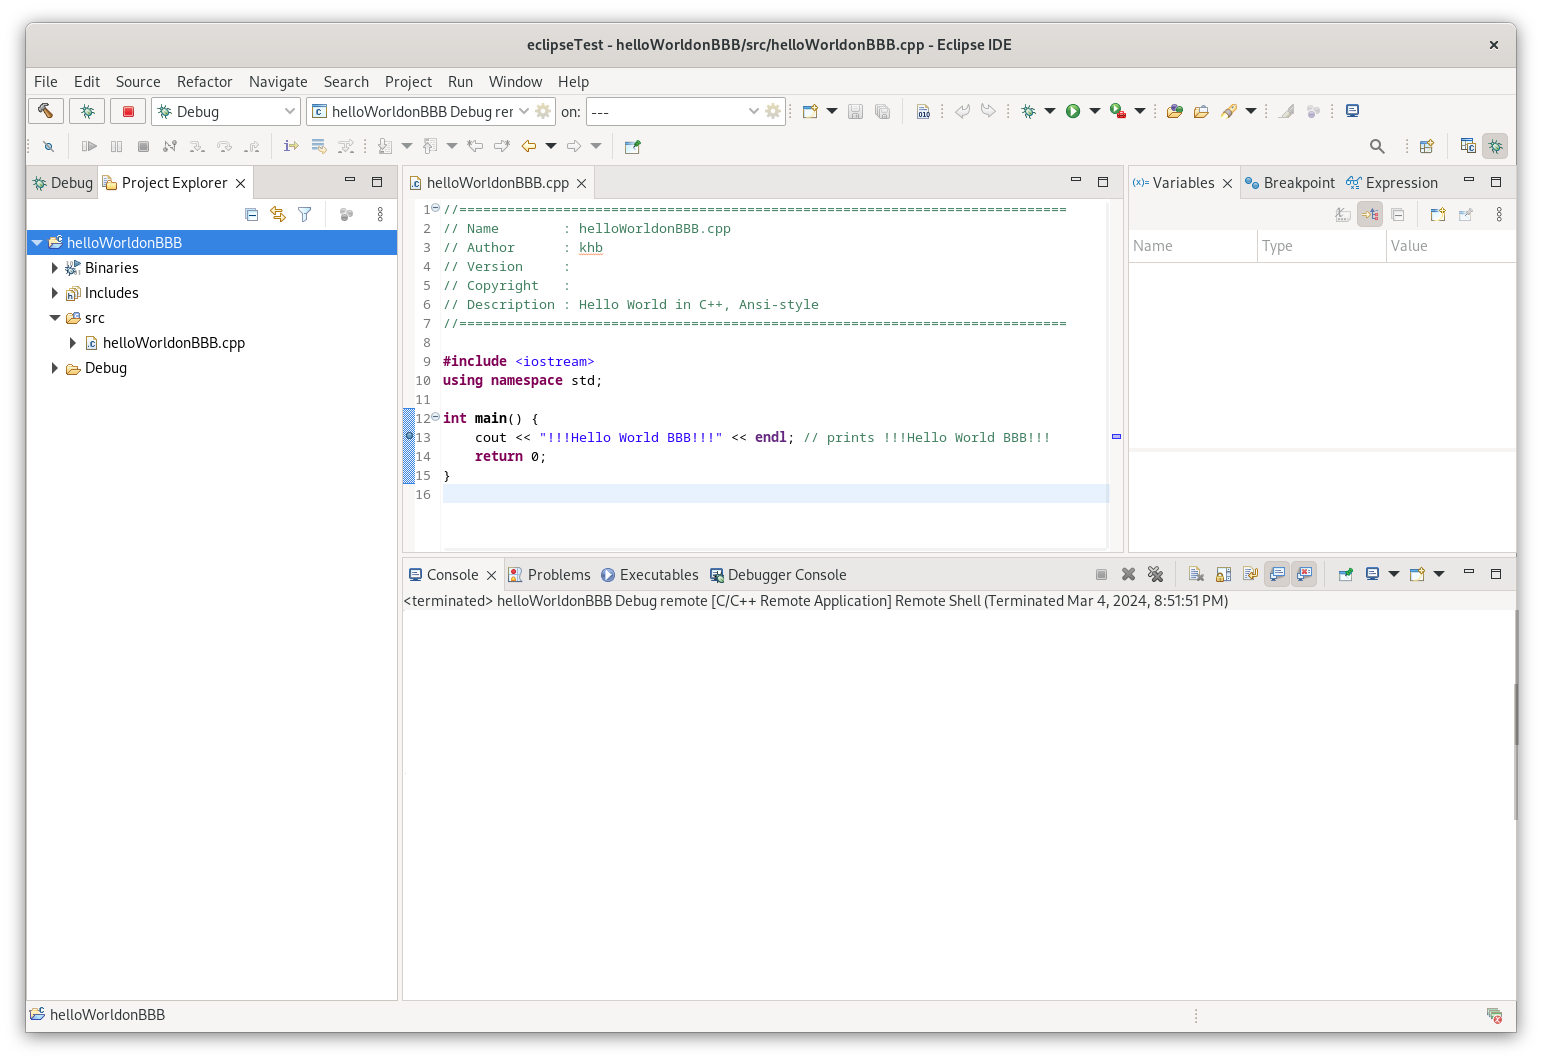
We can also see the build output:
As a result, we get out the executable file. We can check its architecture in any available way, for example using readelf -h <file>:
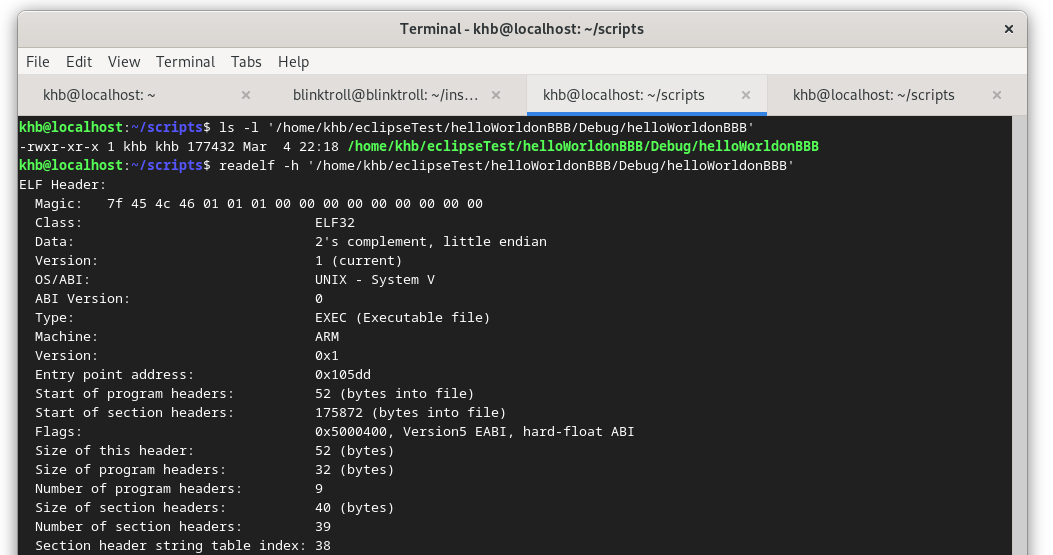
Now we can give execution permission to this file by running:
chmod +x helloWorldonBBB
copy to the board and run
./helloWorldonBBB
Done.
Conclusion
This was a long setup, but we learned a lot. The next step is to prepare remote debug - so we can not only build the app but also debug it from the board in real-time. This will improve the process dramatically. I also will cover the process of initially configuring the BBB board and maybe a few other related topics.
Resources
- Beaglebone® Blue
- Eclipse
- Linux
- librobotcontrol
- Cross-compile
- open-wrt
- cmake
- makefile
- ninja
- PC architecture
- arm-linux-gnueabihf
- Linaro
- Linaro armhf releases
- glibc
aptcurl- toolchain installation
- Multiarch
- discussion Multiarch config
- Compiling and Deploying BeagleBone Black Kernel
update-alternatives- workaround for python2.6
- alternative config with rootfs
Share on: