BeagleBone® Blue - duplicate & distribute
BeagleBone® Blue distribution Estimated reading time: 2 minutesOne more post related to Beaglebone® Blue. At this time I just want to put here small notes about making a bootable self-flashing SD card with a pre-configured board config, so distribution becomes more painless.
Related articles:
- BeagleBone® Blue - initial config via serial port
- Beaglebone® Blue - environment setup
- BeagleBone® Blue - remote debug
- BeagleBone® Blue - debug remote app with root
- BeagleBone® Blue - duplicate & distribute
There are many ways to get the contents of the eMMC to save and reuse. I selected 2, that require minimal efforts.
This is just a note copied from other places, mostly for myself, so I can easily refresh my memory when needed.
option 1
- Boot master BBB with no SD card in
- Insert SD card
- Log in (e.g. with serial terminal, SSH etc.) and run
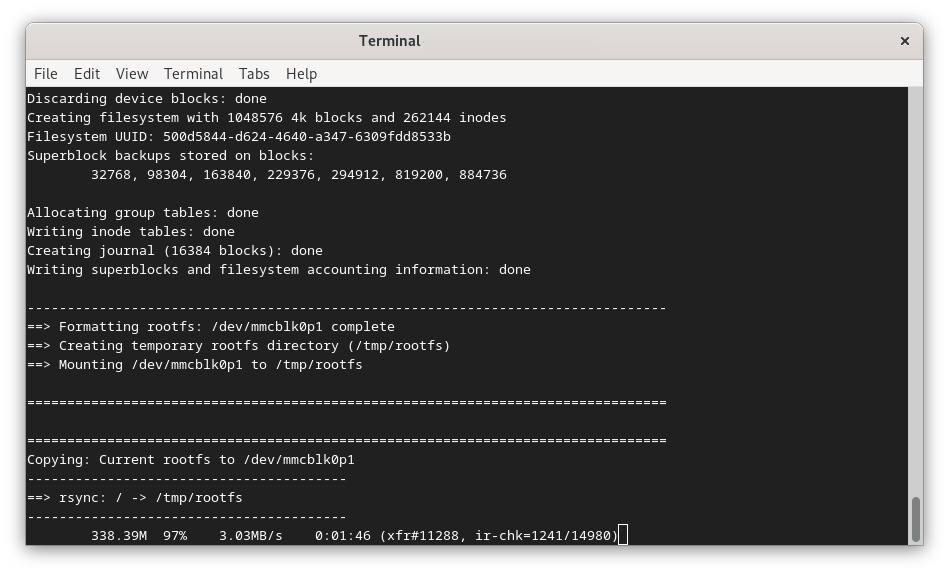
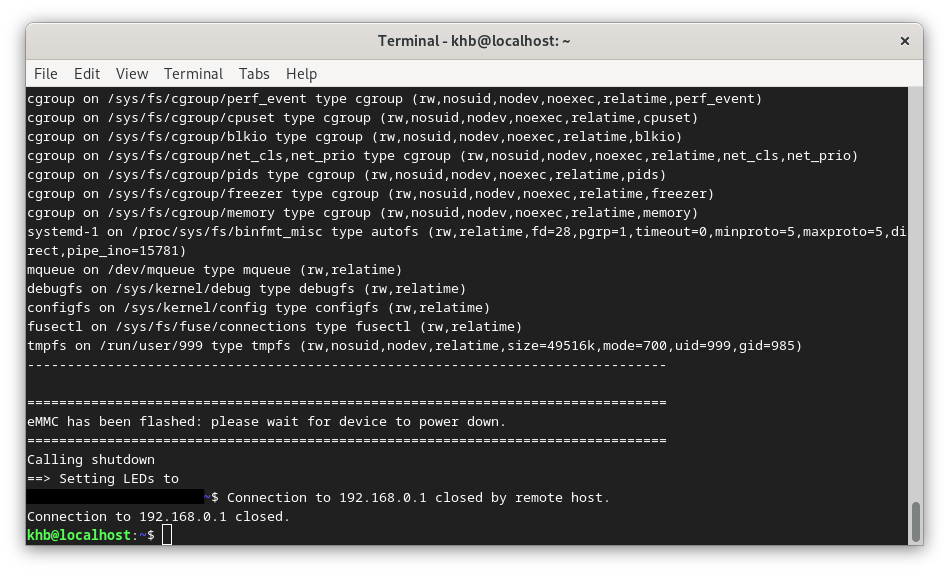
sudo /opt/scripts/tools/eMMC/beaglebone-black-make-microSD-flasher-from-eMMC.sh. LEDs will flash in sequence whilst SD card is being written. - When the LEDs stop and the script terminates, remove the SD card.
- Insert SD card into new BBB then power on.
- eMMC will be flashed; LEDs on new BBB will flash in sequence until complete.
option 2
Backup the eMMC
- FAT format a 4GB or larger SD card (must be a MBR/bootable formatted microSD card)
-
Download beagleboneblack-save-emmc.zip and extract the contents onto your SD card
Note: this is an image from Jason Krinder at his github https://github.com/jadonk/buildroot using the save-emmc-0.0.1 tag
- Put the card into your powered off Beaglebone Black
- Power on your Beaglebone Black while holding the S2 Button
- The USR0 led will blink for about 10 minutes, when it’s steady on you have an SD card with a copy of your eMMC in a .img file
Use the eMMC to flash a new Beaglebone Black
-
On the SD card edit autorun.sh
 #!/bin/sh
 echo timer > /sys/class/leds/beaglebone\:green\:usr0/trigger
 dd if=/mnt/<image-file>.img of=/dev/mmcblk1 bs=10M
 sync
 echo default-on > /sys/class/leds/beaglebone\:green\:usr0/trigger
where
is the image file you got after copying backing up your eMMC - Insert the card into your powered off Beaglebone Black
- Power on your Beaglebone Black while holding the S2 Button
- The Beaglebone Black should go into rebuilding mode and within about 20 minutes you’ll have a newly flashed Beaglebone Black (when all 4 USR LEDs are solid) with a copy of your original
Resources
Share on:

